Matyas Rathonyi

Matyas Rathonyi

A selection of 3D renders and motion work.

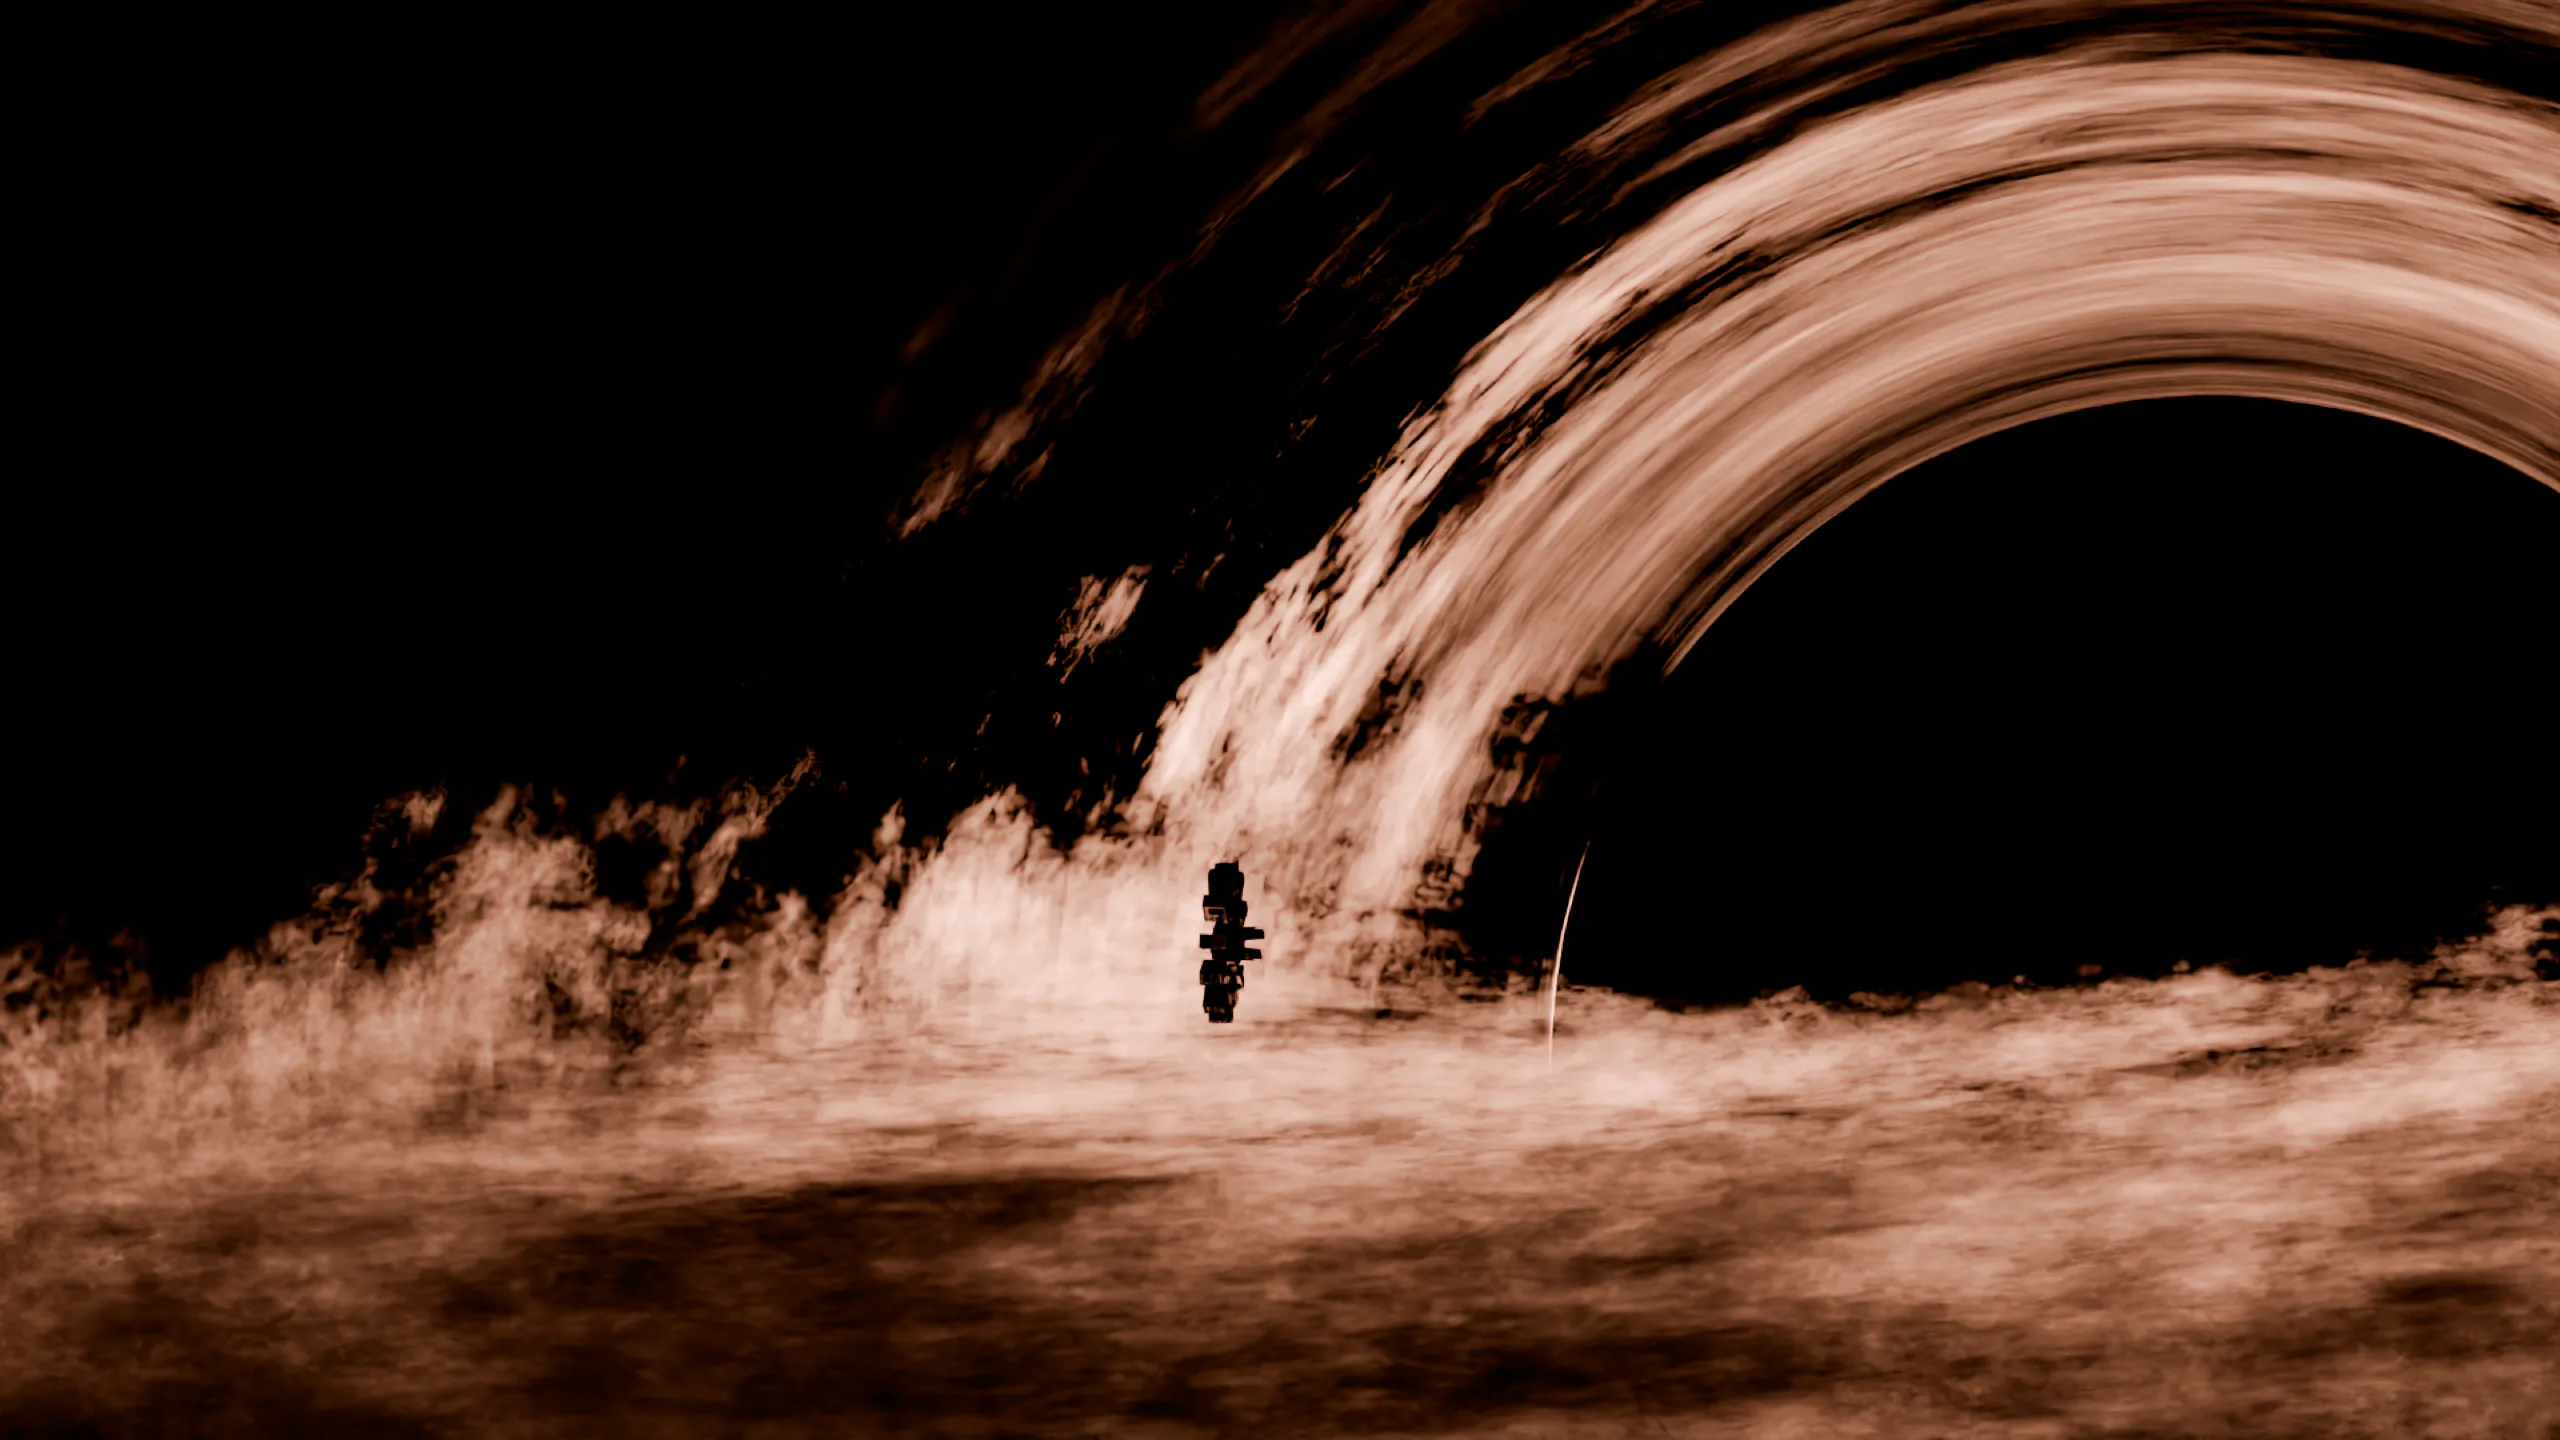
Black hole

A copper-toned black hole bending a stream of matter, a small craft falling toward it
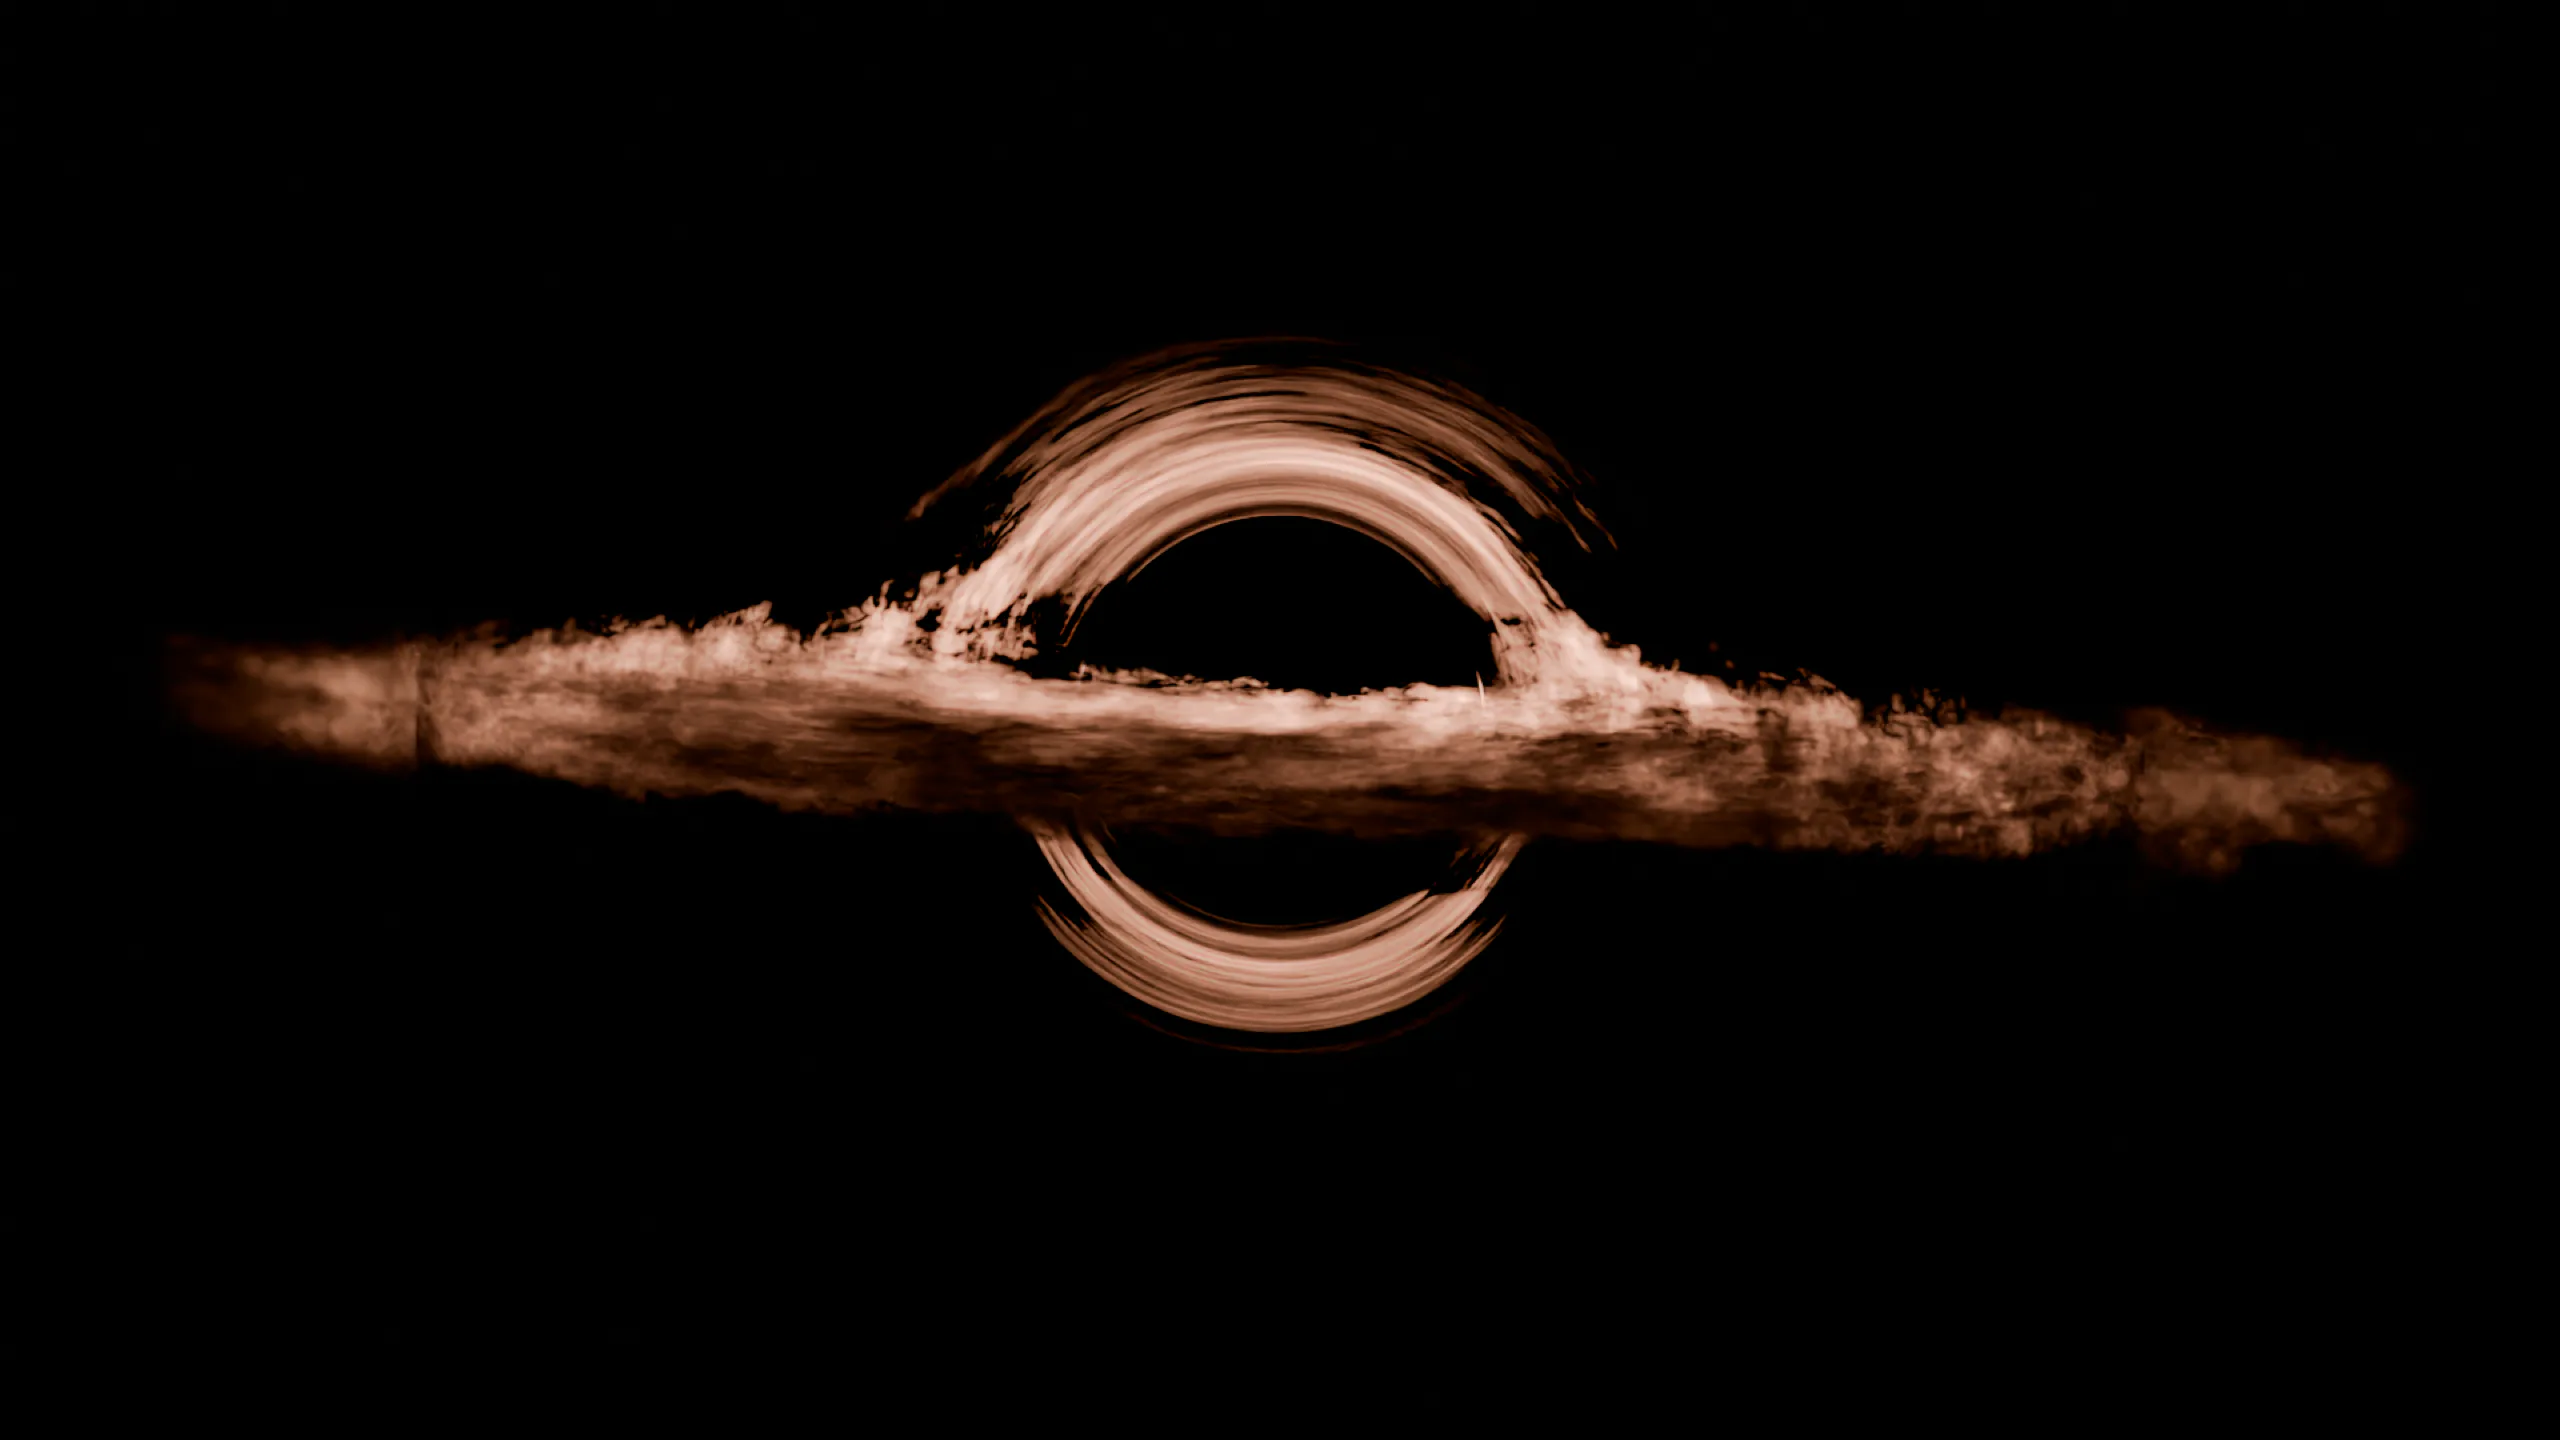
Black hole
Head-on view of a glowing accretion disk around a black hole
Accretion disk

Gargantua study

A shader study inspired by Interstellar, made to understand how an accretion disk bends around a black hole instead of only copying the final image.

Date
June 2026
Client
Self-initiated
Collaboration
Critique from a Blender artist friend
My role
Shader reconstruction, modelling, lighting and composition
Read the index Close the index

Concept

Interstellar is my favourite film, and Gargantua is one of cinema's most scientifically grounded black holes. Its image was generated with a renderer based on relativistic light propagation, although some effects were simplified so the audience could read it. I wanted to understand the visual logic behind it in Blender.

Process

I rebuilt the mathematical shader from a tutorial. The difficult part was not placing the nodes, but understanding why the coordinate transforms, curves and math operations produced the distortion. The final accretion-disk material contains 102 nodes and 117 connections. Every model and the final composition were made by me.

Result

The project took more than a week because I kept returning to the mathematics until it made sense. It became my favourite still project and gave me a much better understanding of procedural shading. Feedback from a friend helped me refine the final lighting and framing.
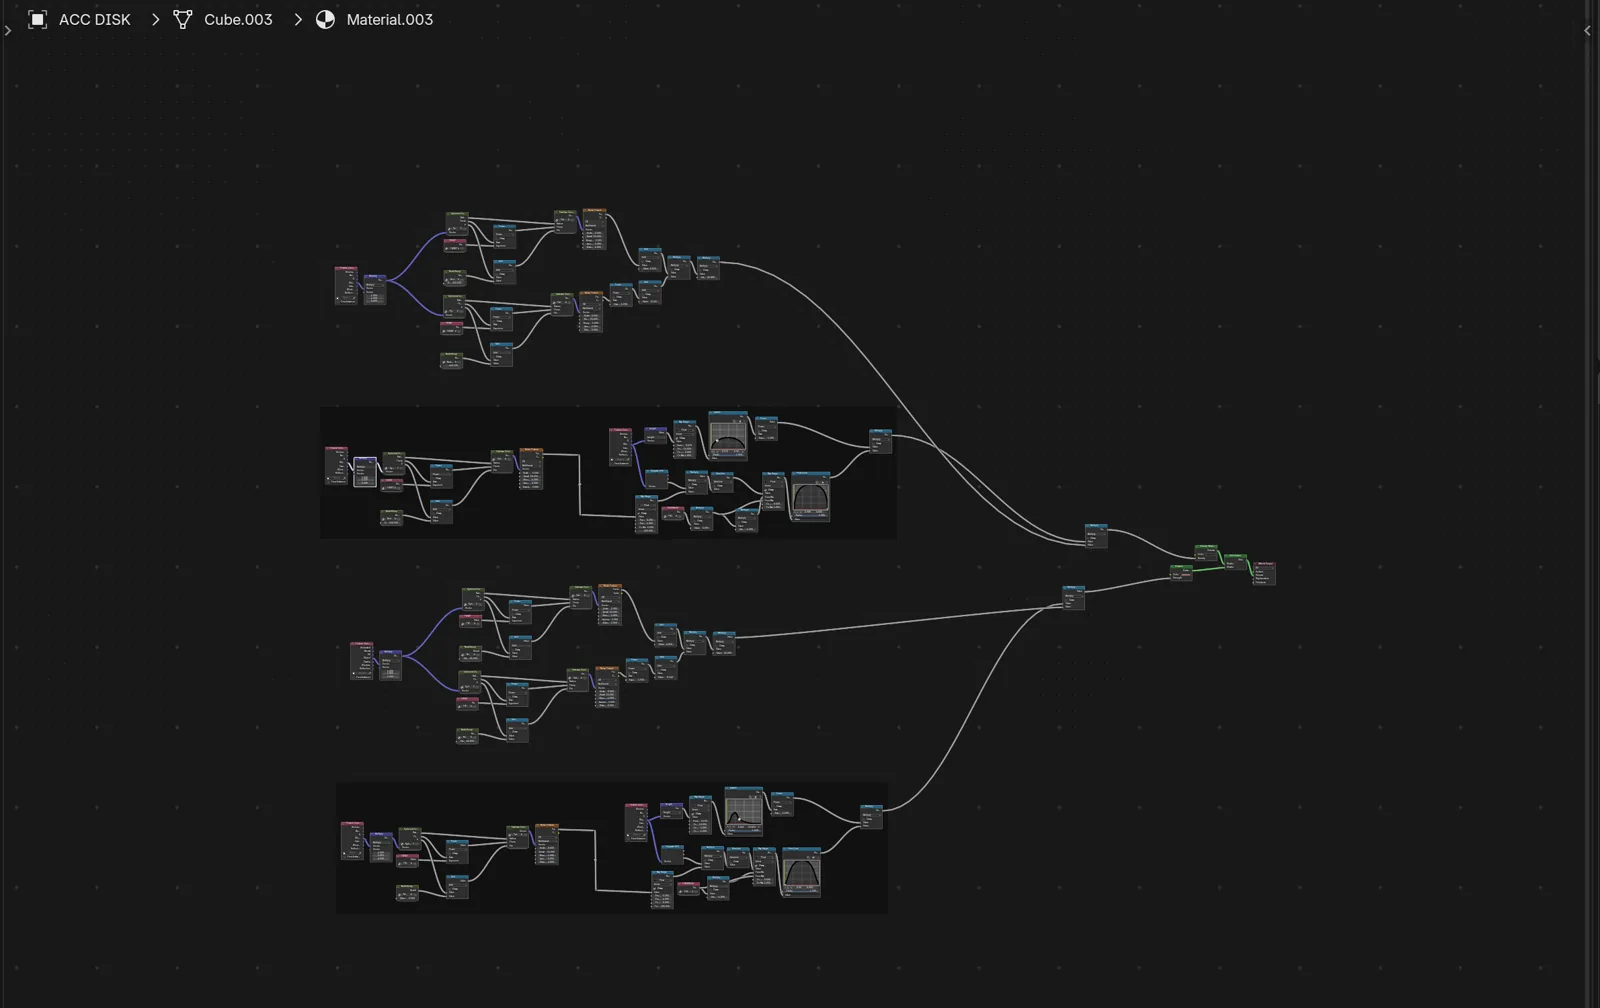
The 102-node Blender material used to construct the accretion disk shader
The final accretion-disk shader inside Blender.
A compact formula extracted directly from the Blender node setup above. E represents emission strength and D represents absorption density.

Creatures and machines

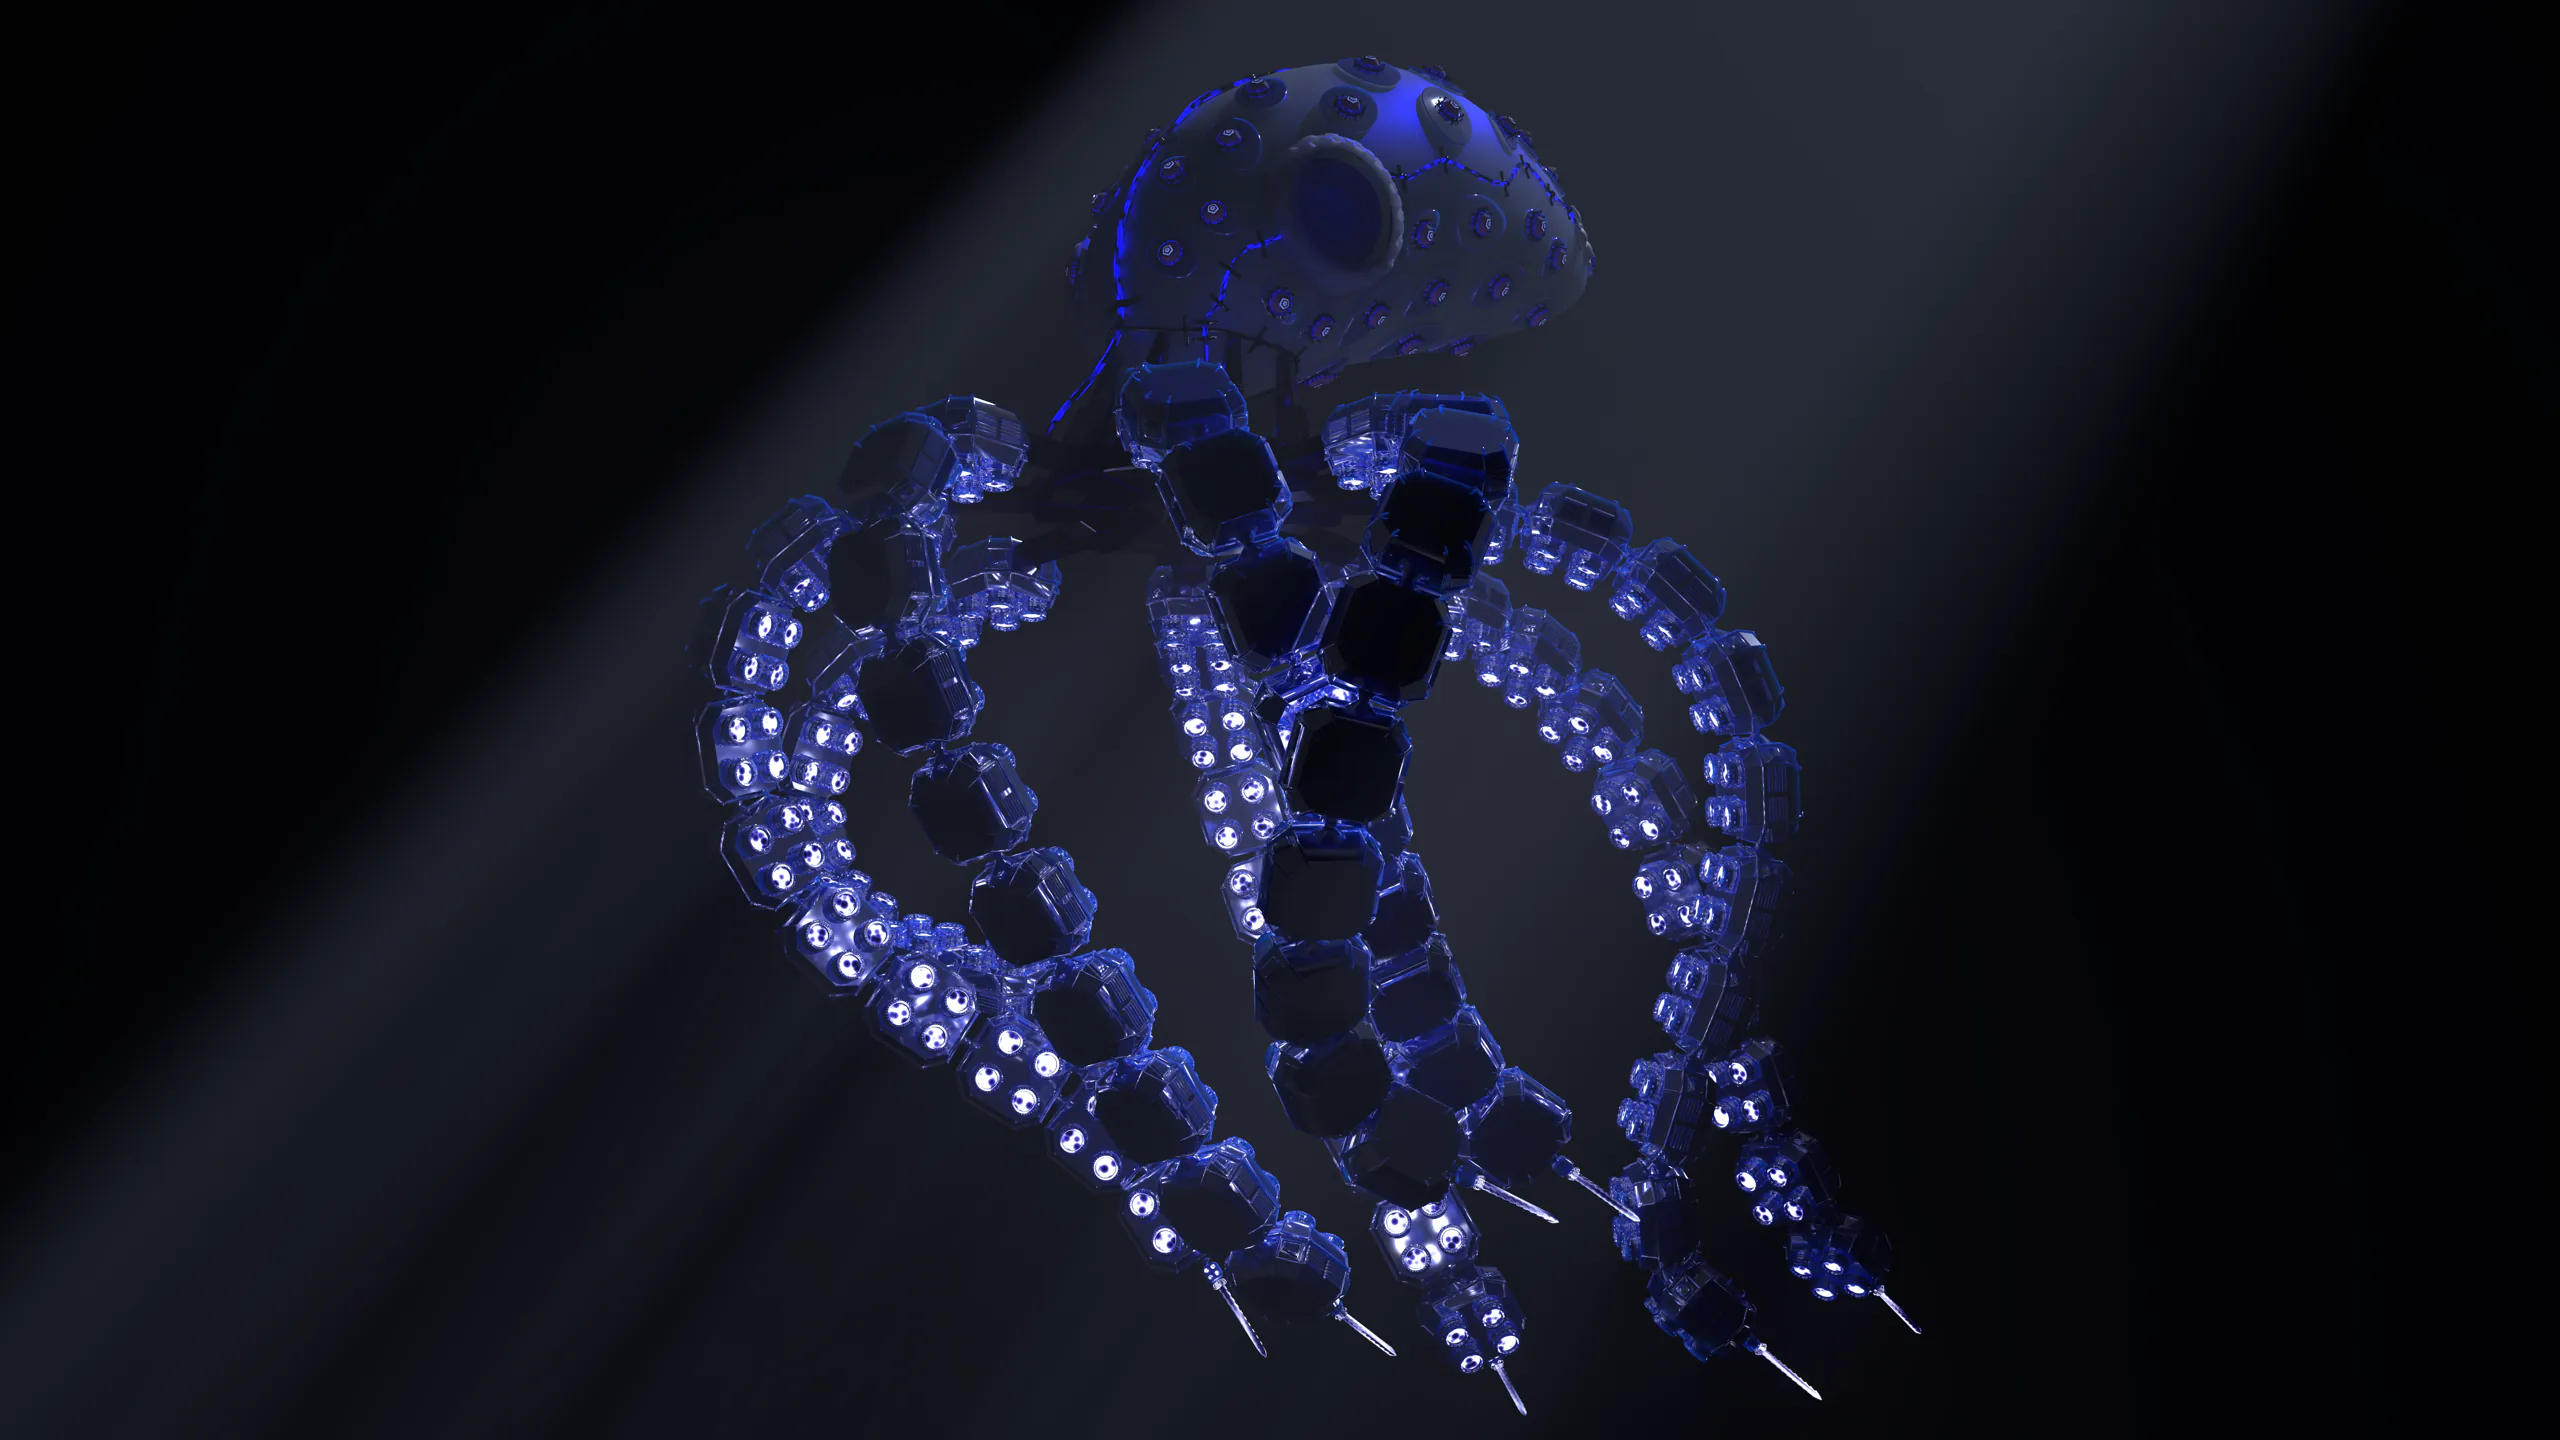
A mechanical octopus made of glassy segmented plates, lit in deep blue with a volumetric light beam
Kraken, blue
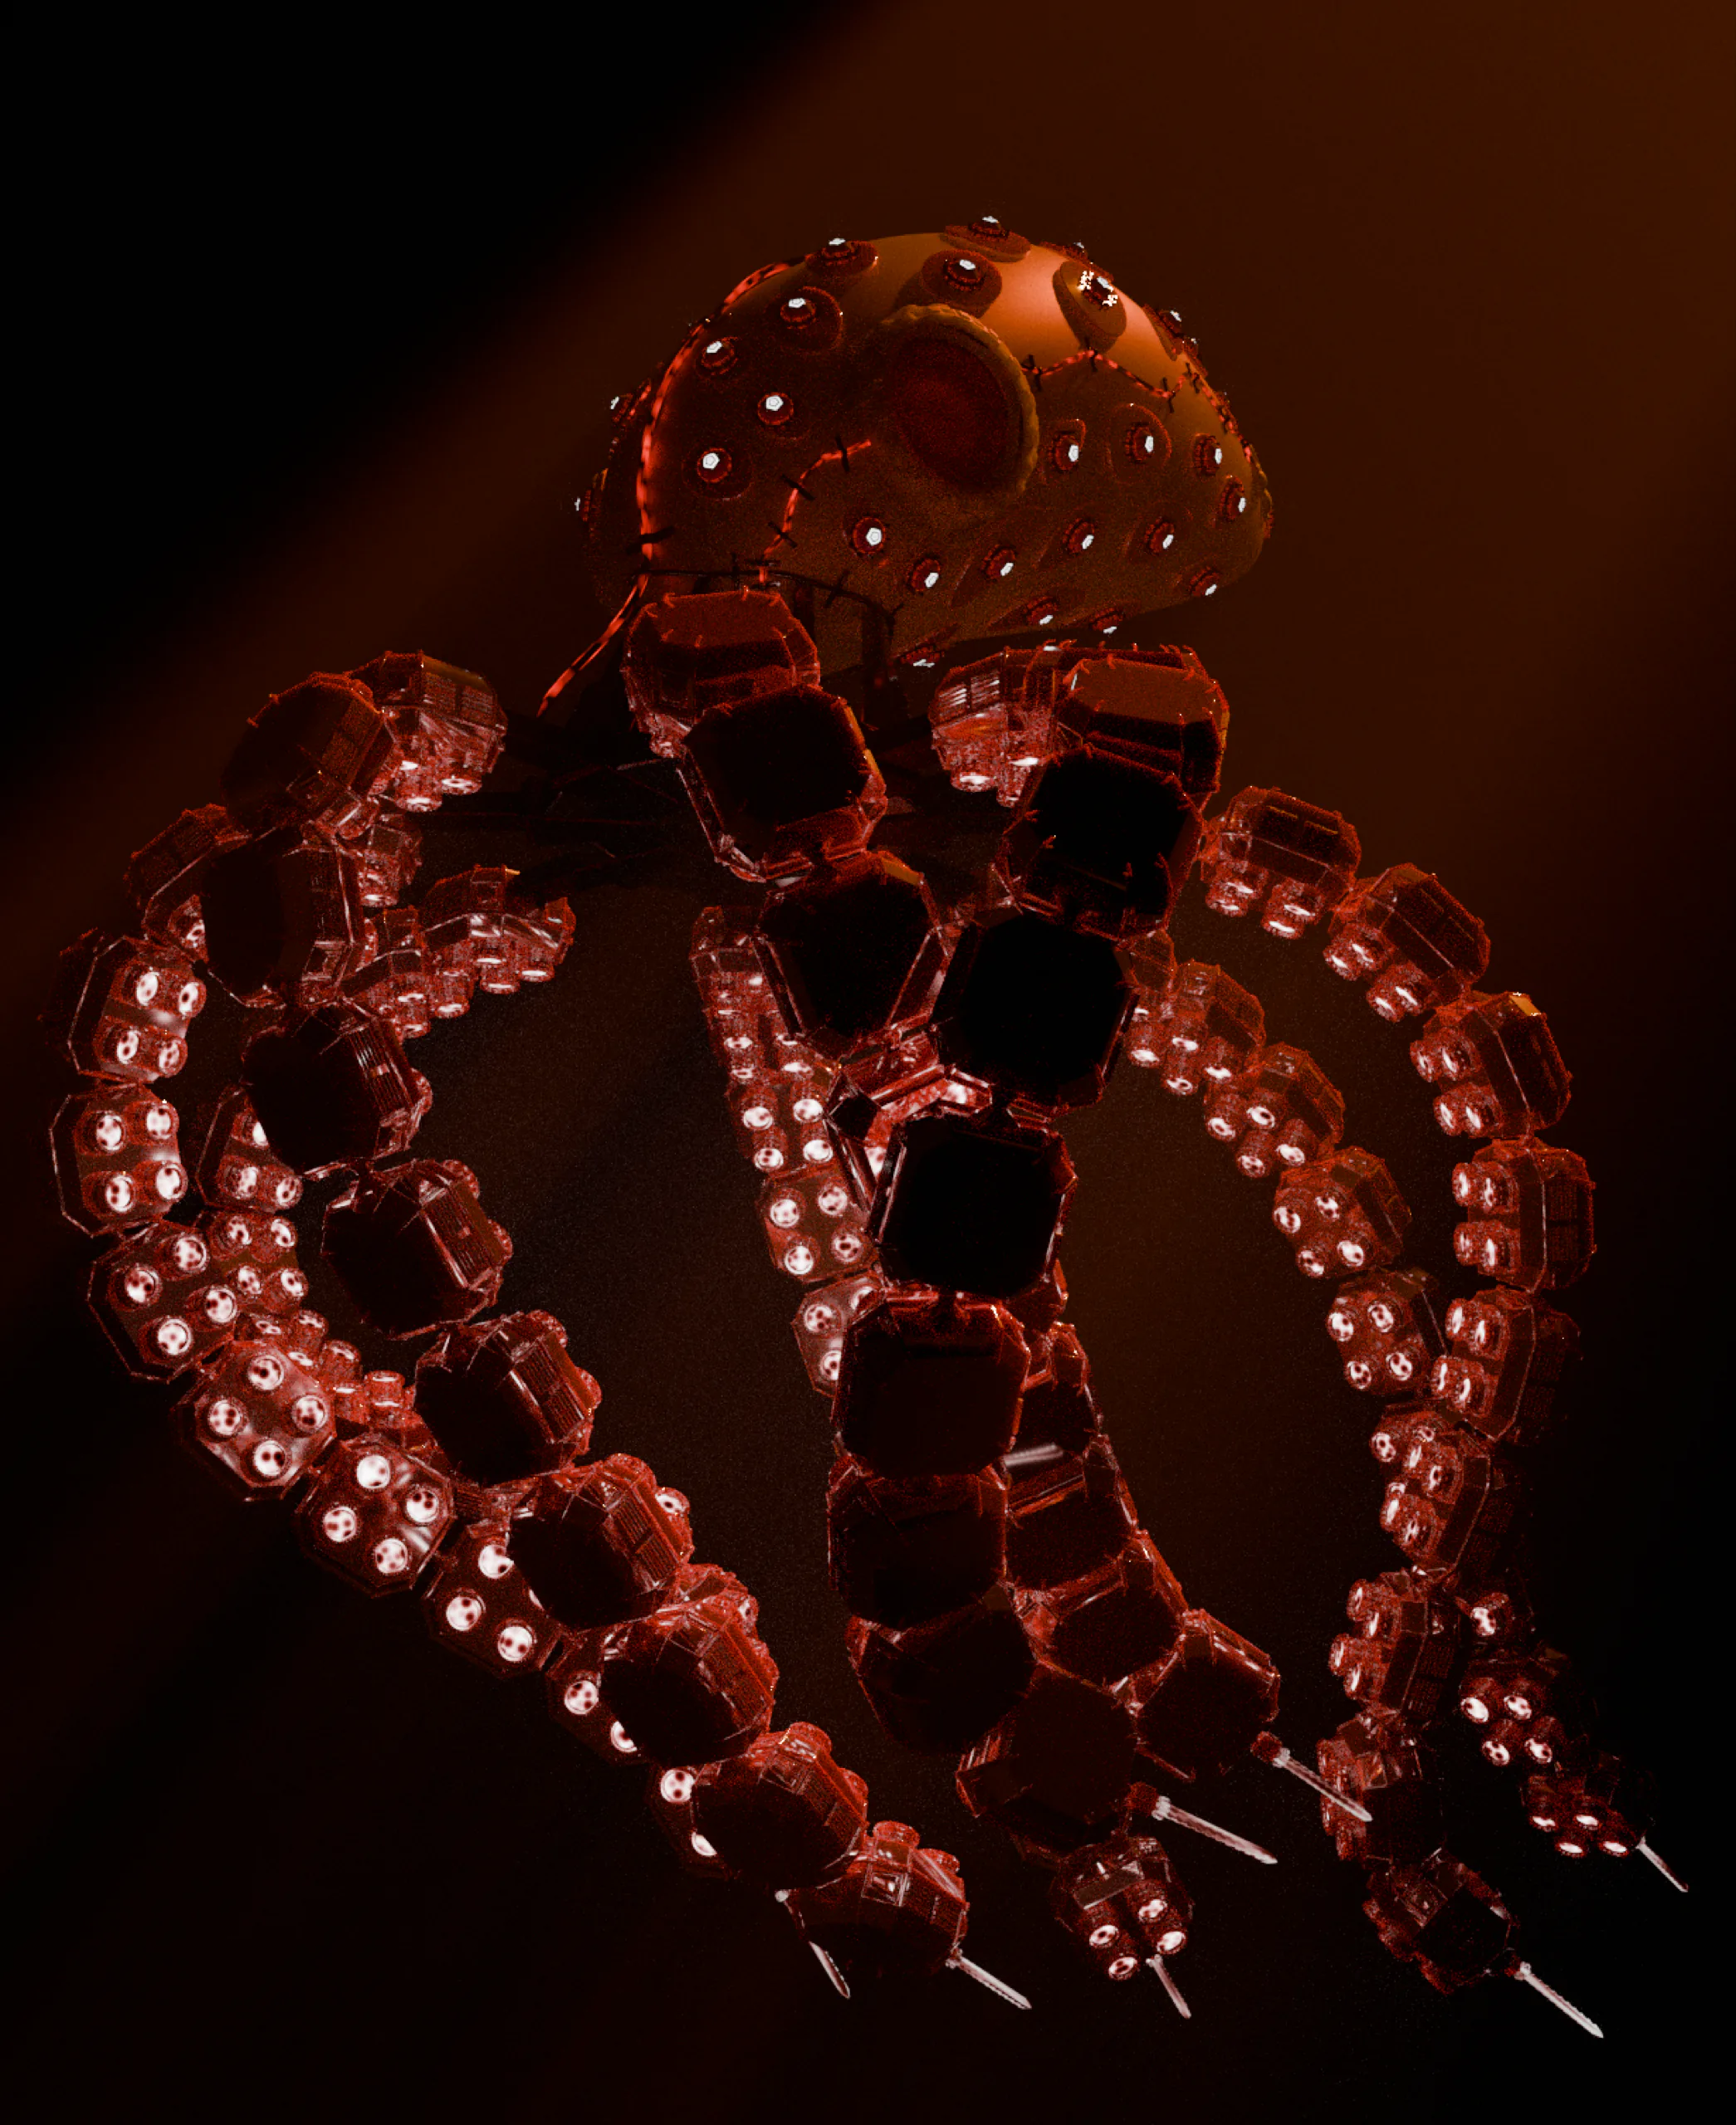
The same mechanical octopus rendered in glowing red glass
Kraken, red

Kraken

A complete recreation of my favourite Polyfjord tutorial, followed by two personal colour, lighting and composition studies.

Date
2025, refined in 2026
Client
Tutorial study
Source
Polyfjord
Collaboration
Critique from a Blender artist friend
My contribution
Hands-on reconstruction, colour, materials, lighting and final composition
Read the index Close the index

Concept

I have worked through every Polyfjord tutorial because I like the way he combines clear technical systems with playful forms. The mechanical Kraken was my favourite, so it became the only direct tutorial recreation I selected for the portfolio.

Process

The model and construction follow Polyfjord's tutorial closely. I recreated every part myself in Blender, but the original design and method are his. My own work begins with the colouring, materials, lighting and framing. I used those decisions to turn the same 212-part model into a cold blue and a glowing red version.

Result

The two renders taught me how strongly colour and light can change the personality of an unchanged object. The project is also a useful marker of how I learn: first I rebuild a system carefully, then I use the finished structure to test my own visual decisions.

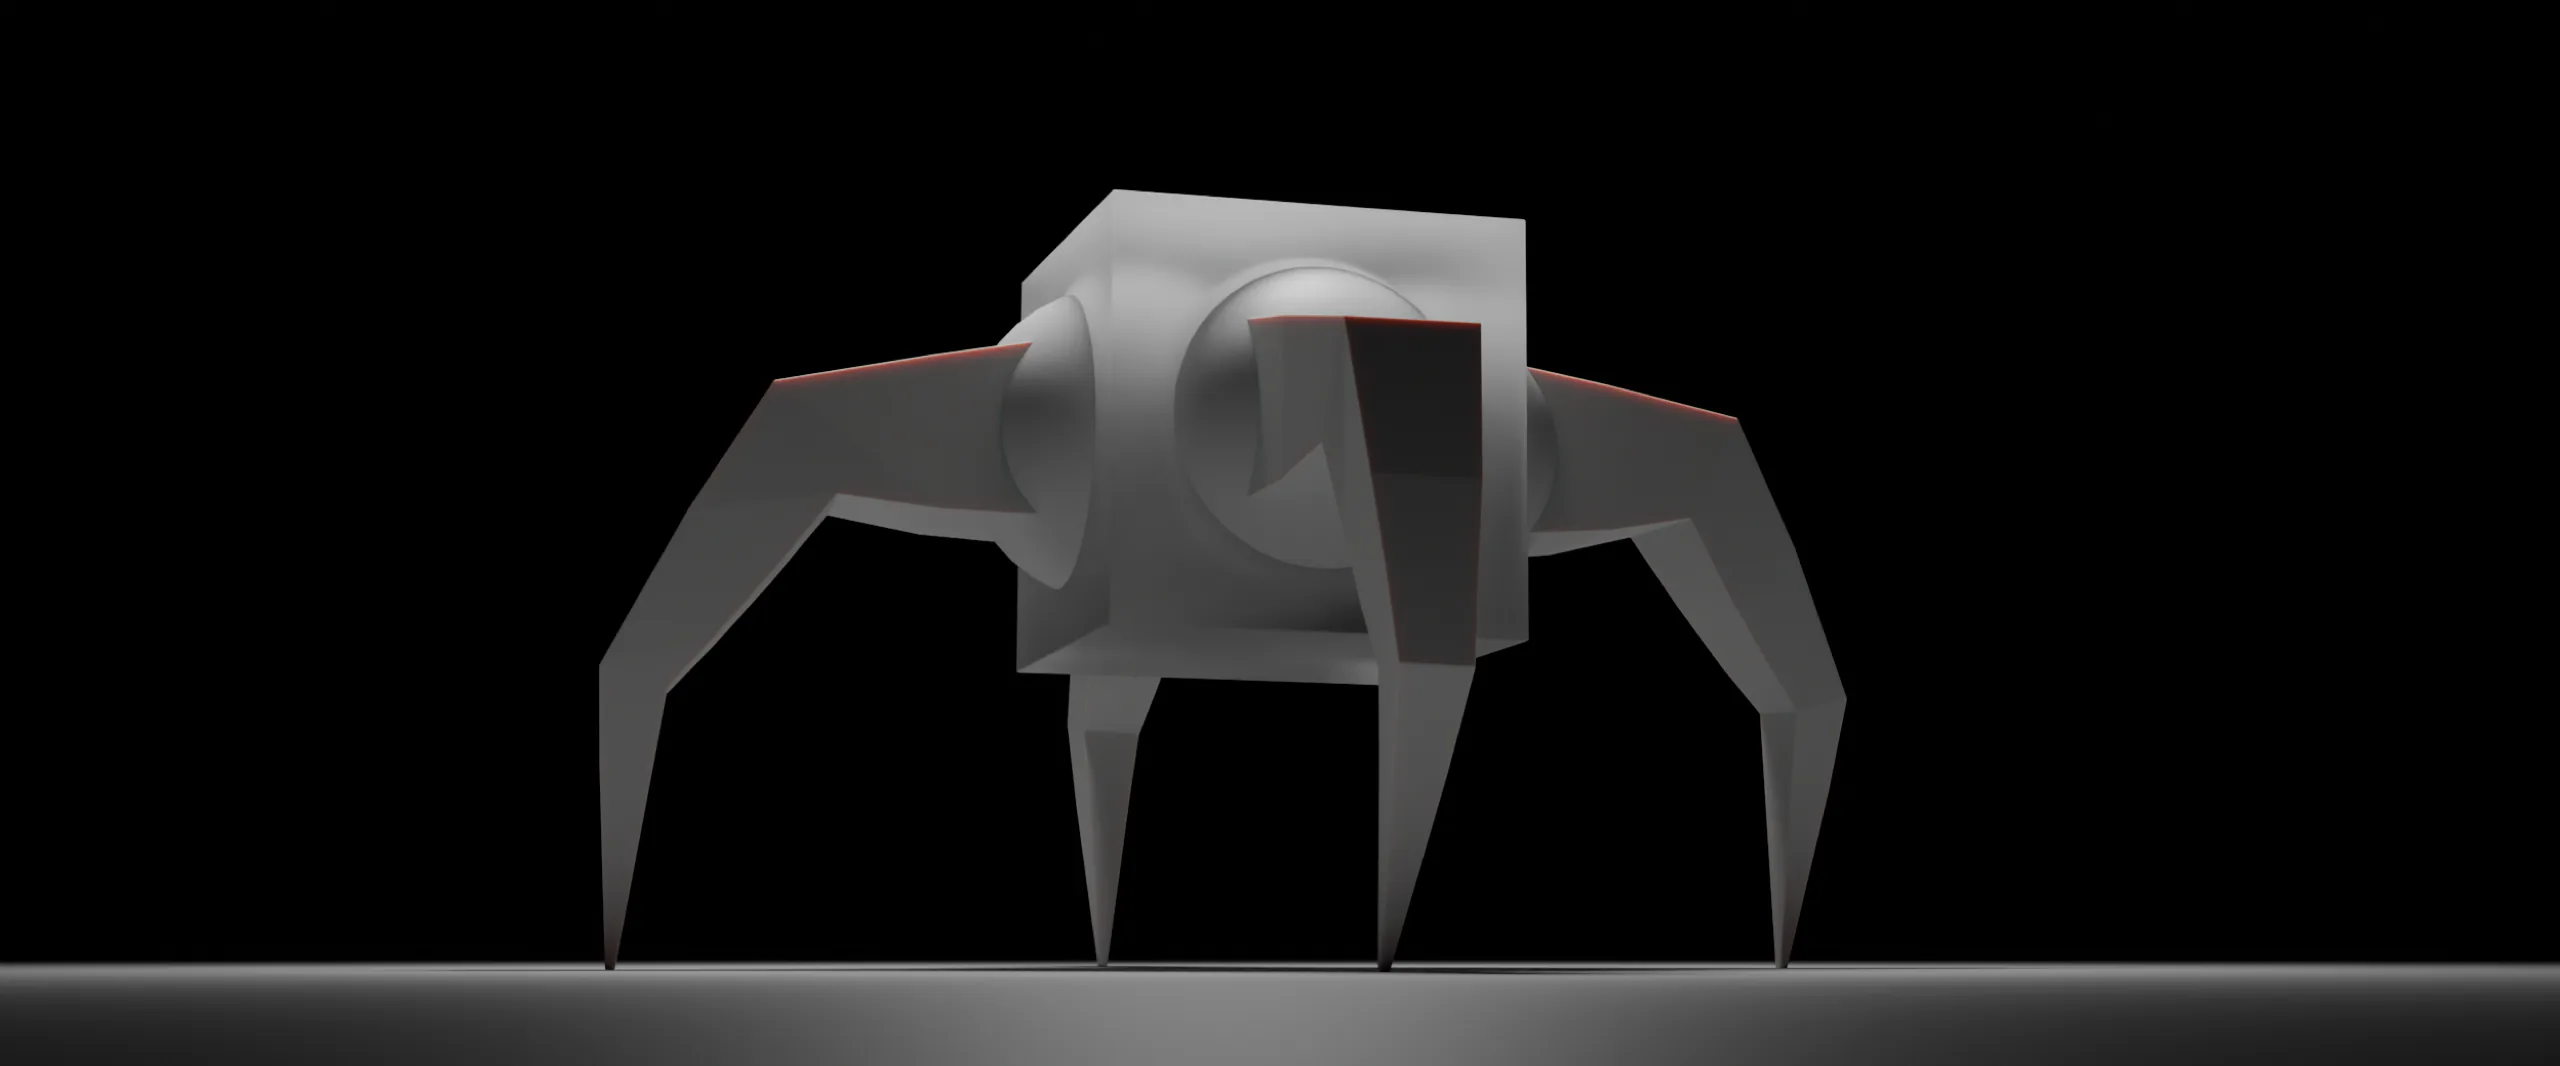
A low-poly quadruped robot with red edge accents standing in a dark void
Quadruped

Quadruped

A minimal mechanical creature built around a Polyfjord rigging exercise, then given its own colour, lighting and composition.

Date
December 2025
Client
Tutorial study
Source
Polyfjord rigging tutorial
My contribution
Reconstruction, colour, materials, lighting and composition
Read the index Close the index

Concept

I wanted to see how much character I could create from an extremely simple body and a readable silhouette. The basic rig came from a Polyfjord exercise, while the dark setting, grey body, red edges and wide composition were my own choices.

Process

The creature uses eight armatures, IK targets and curve-based limbs. Rebuilding the rig made it clear how a few controls can coordinate many legs without making the system impossible to pose. I kept the modelling intentionally simple and spent more time on the final visual balance.

Result

It is one of my simplest projects, but also one of the most visually direct. I built an animation for the creature as well, and I still think the movement is one of its strongest parts, even though I did not have time to finish it for this portfolio version.

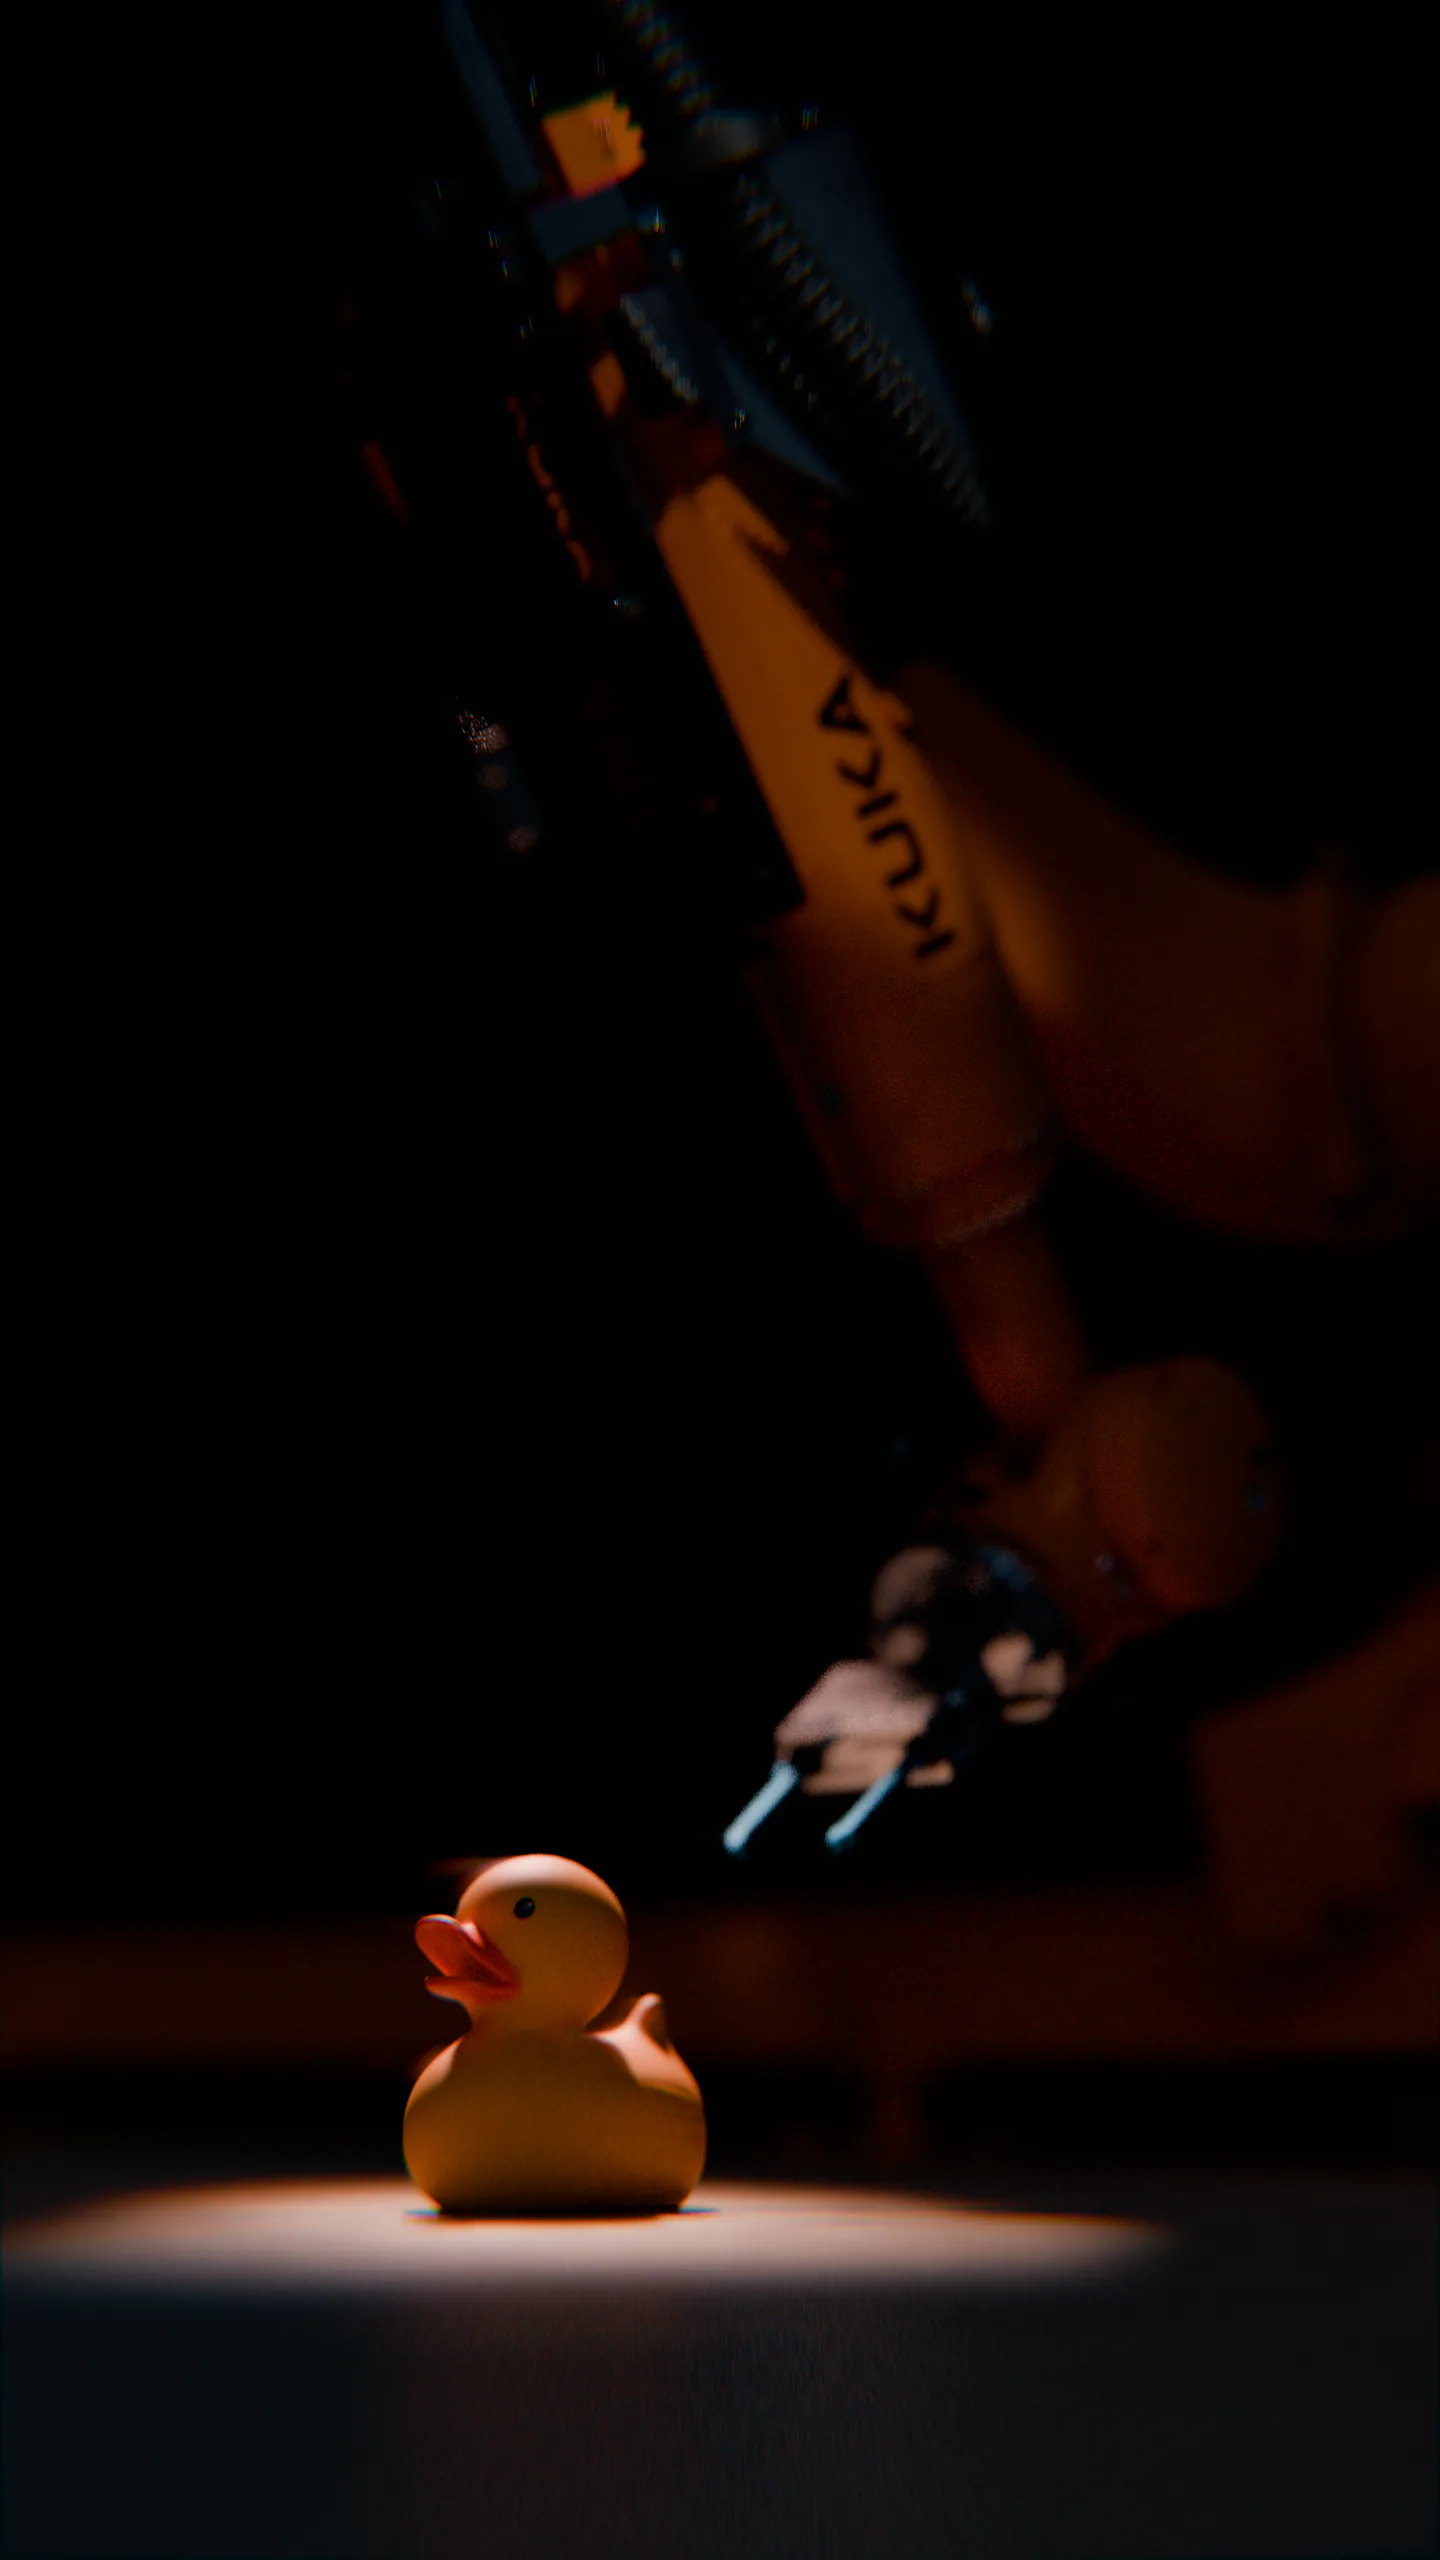
A rubber duck in a spotlight beneath a KUKA industrial robot arm
Robot arm, still
Robot arm, motion

Robot arm and duck

A self-made still and short animation built from two randomly chosen external assets: an industrial robot arm and a rubber duck.

Date
April to June 2025
Client
Self-initiated
Assets
Robot arm and duck models
My role
Concept, animation, staging, lighting, camera and sound
Read the index Close the index

Concept

I gave myself a simple constraint: choose two unrelated assets at random, then make them feel as if they belonged in the same scene. The scale difference between an industrial KUKA arm and a small rubber duck created a strange mix of tension and humour.

Process

The two models are external assets, while the idea, animation, materials, lighting, camera movement and sound design are mine. I first made a still to establish the spotlight and composition, then turned it into a short vertical sequence in which the arm enters the darkness and removes the duck.

Result

The project showed me that a clear constraint can produce a stronger idea than starting with an unlimited scene. It also became an exercise in visual storytelling: the viewer understands the relationship between the two objects without any explanation or dialogue.

Materials

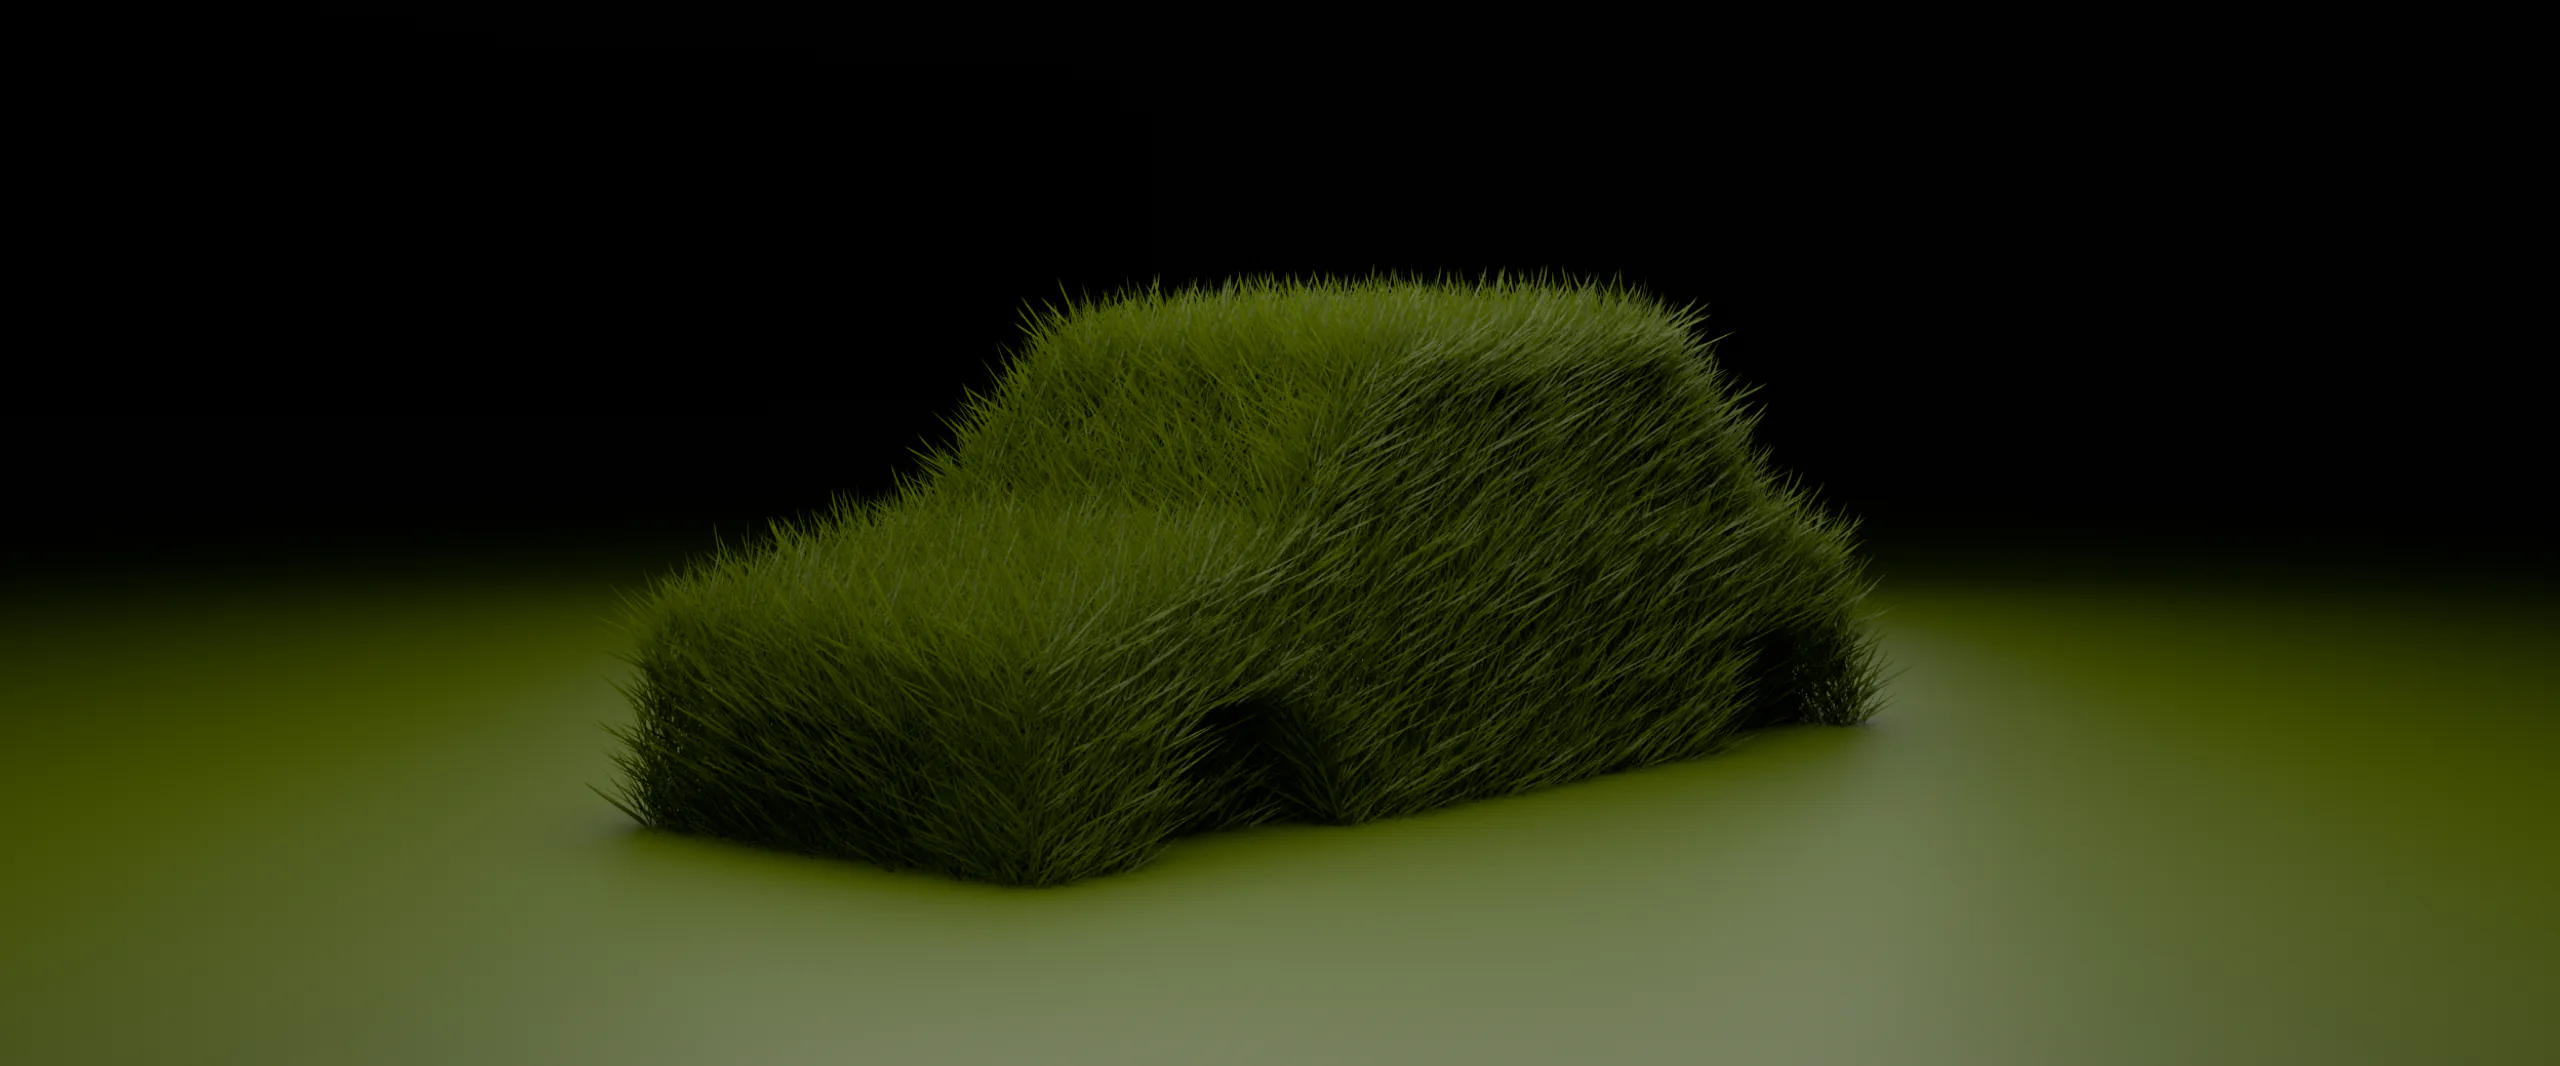
A car-shaped form entirely covered in green grass fur on a green ground
Grass car

Grass car

A short material study that recreates an online reference as a handmade car-shaped hedge using Blender particle systems.

Date
June 2026
Client
Self-initiated
Duration
A few days
My role
Modelling, particles, materials, lighting and composition
Read the index Close the index

Concept

I found an image online of a vehicle covered in vegetation and used it as a starting point for a Blender recreation. I liked that the object was immediately recognisable as a car even after its normal hard surface had been replaced by something soft and organic.

Process

I modelled the simple car silhouette by hand, then used particle systems to build the grass surface. The main challenge was balancing density, length and lighting so the result looked like vegetation instead of fur. Keeping the entire scene within a narrow green range made the silhouette more important.

Result

This was a compact experiment, but it taught me much more about particle-system control than a larger scene would have. It also showed me how a single material change can become the entire idea of an image.

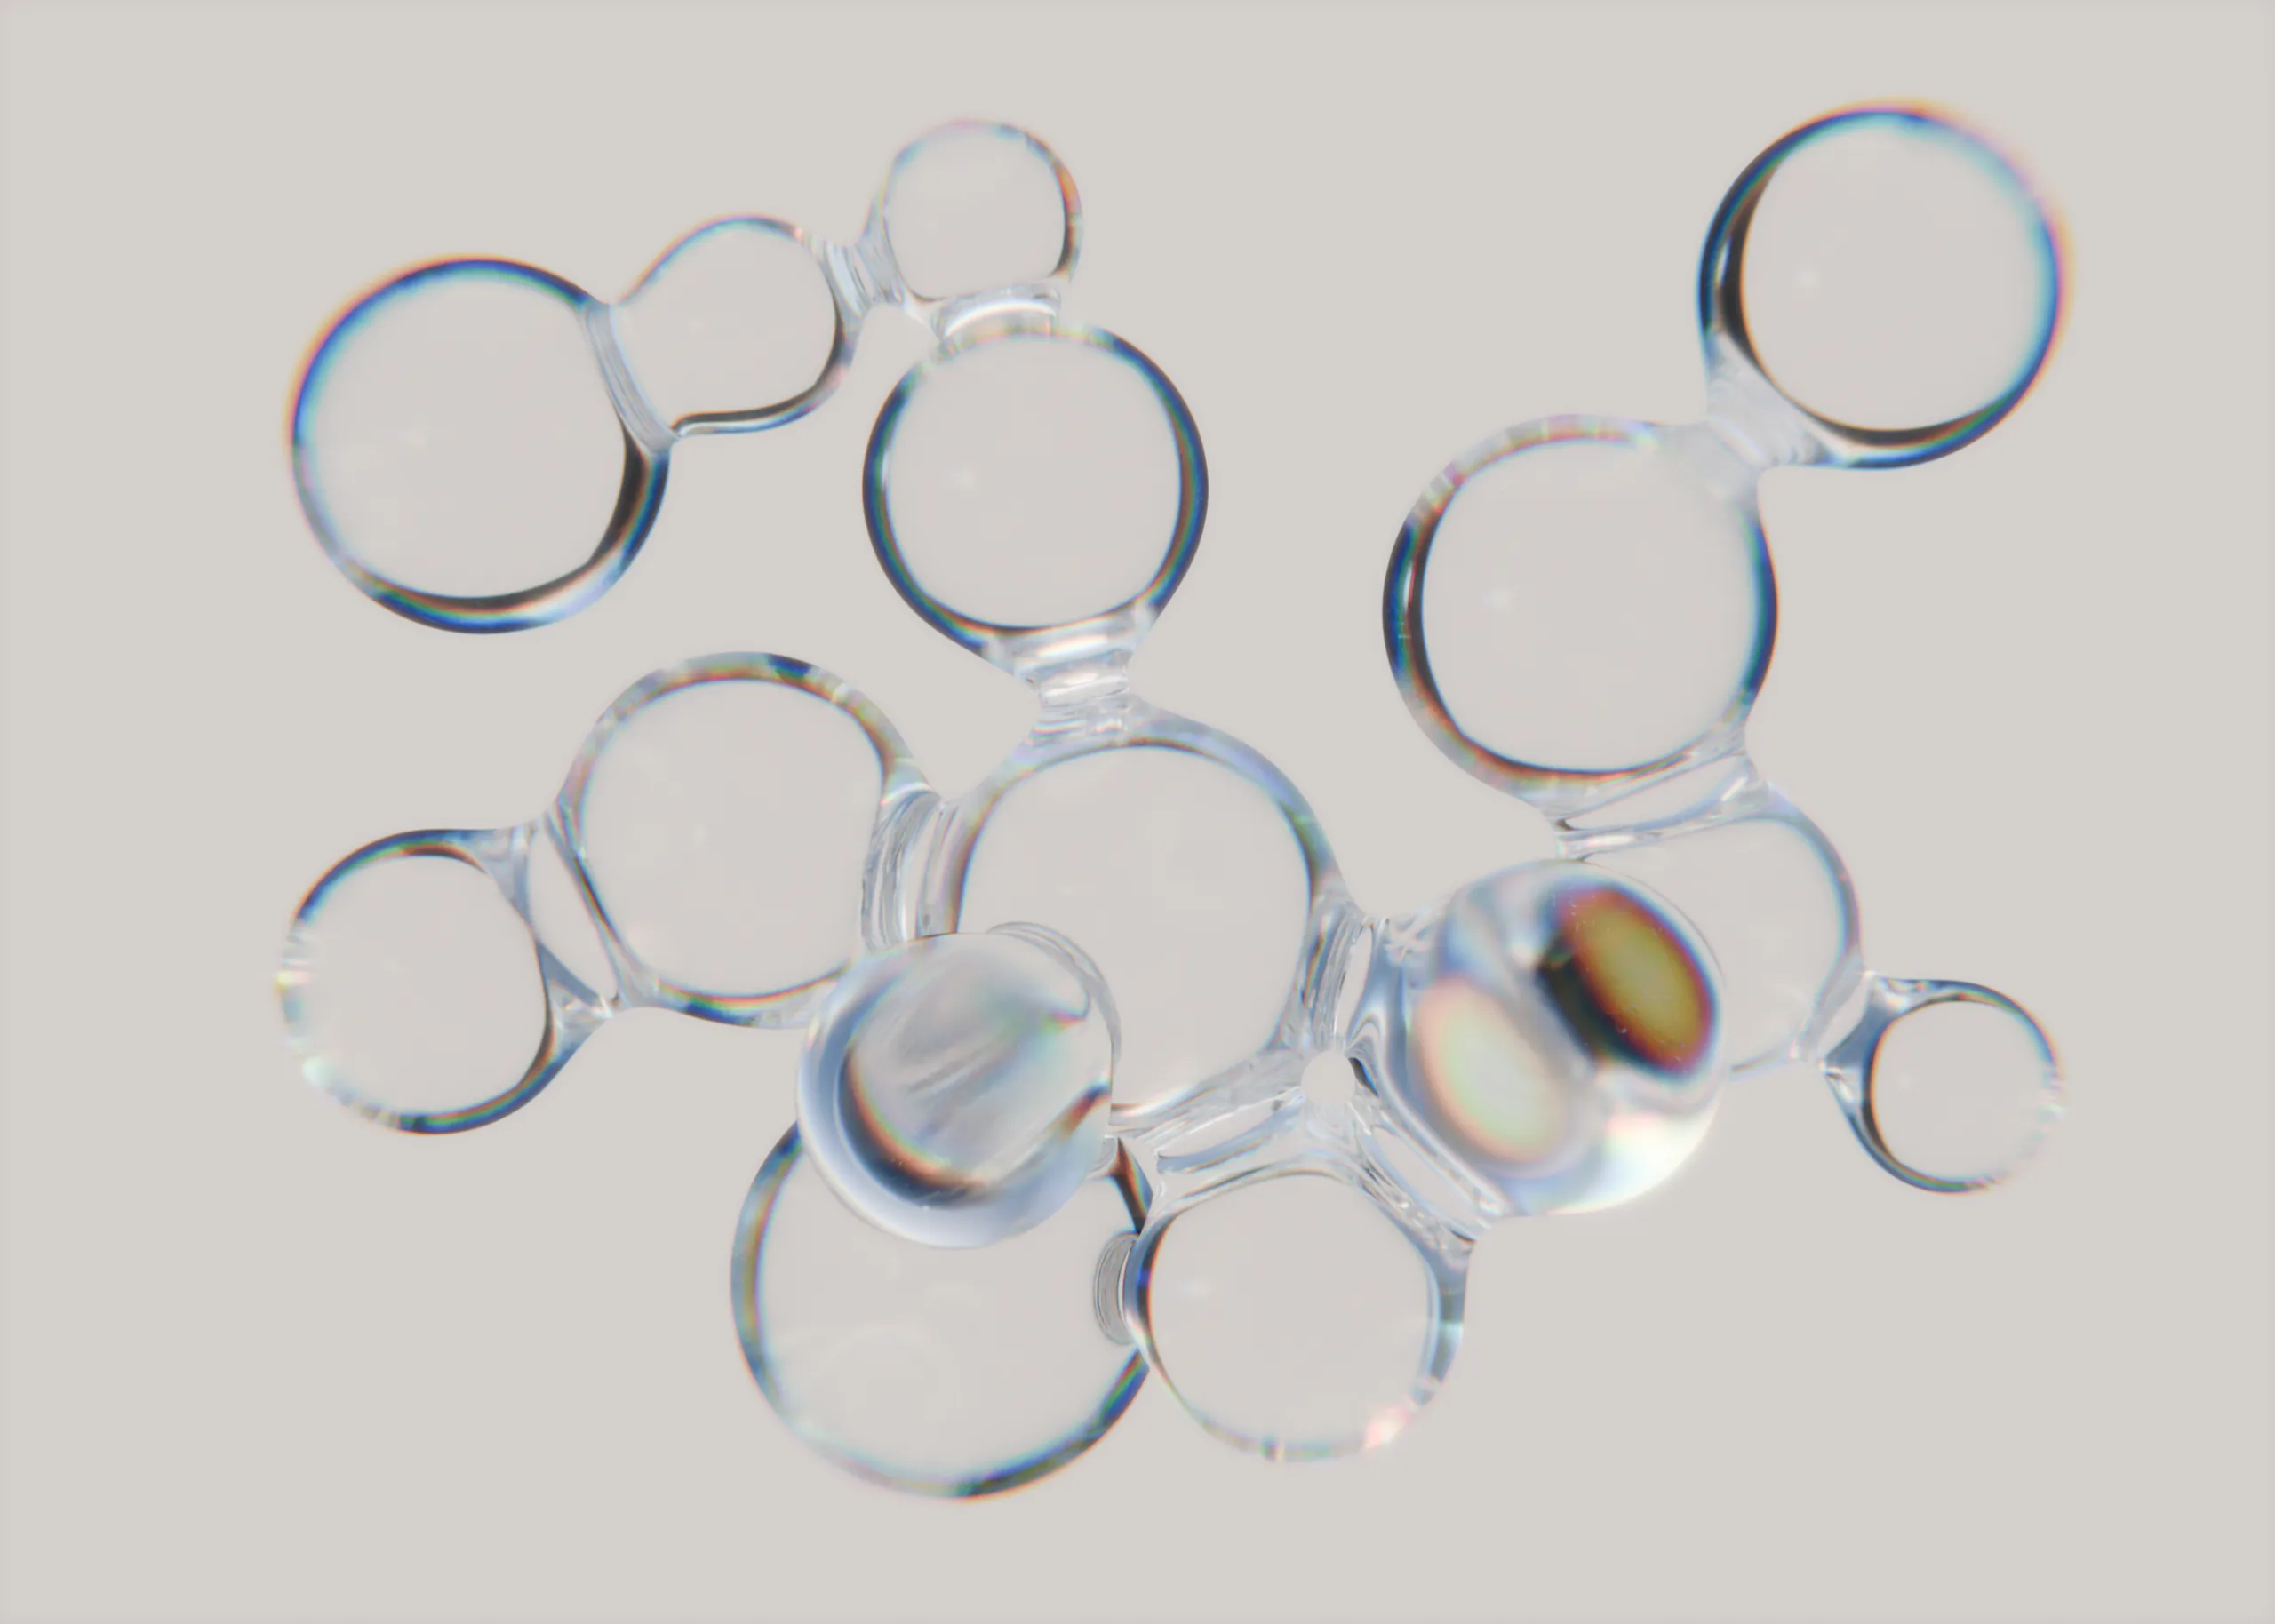
A cluster of clear connected bubbles showing rainbow dispersion on a pale ground
Bubbles
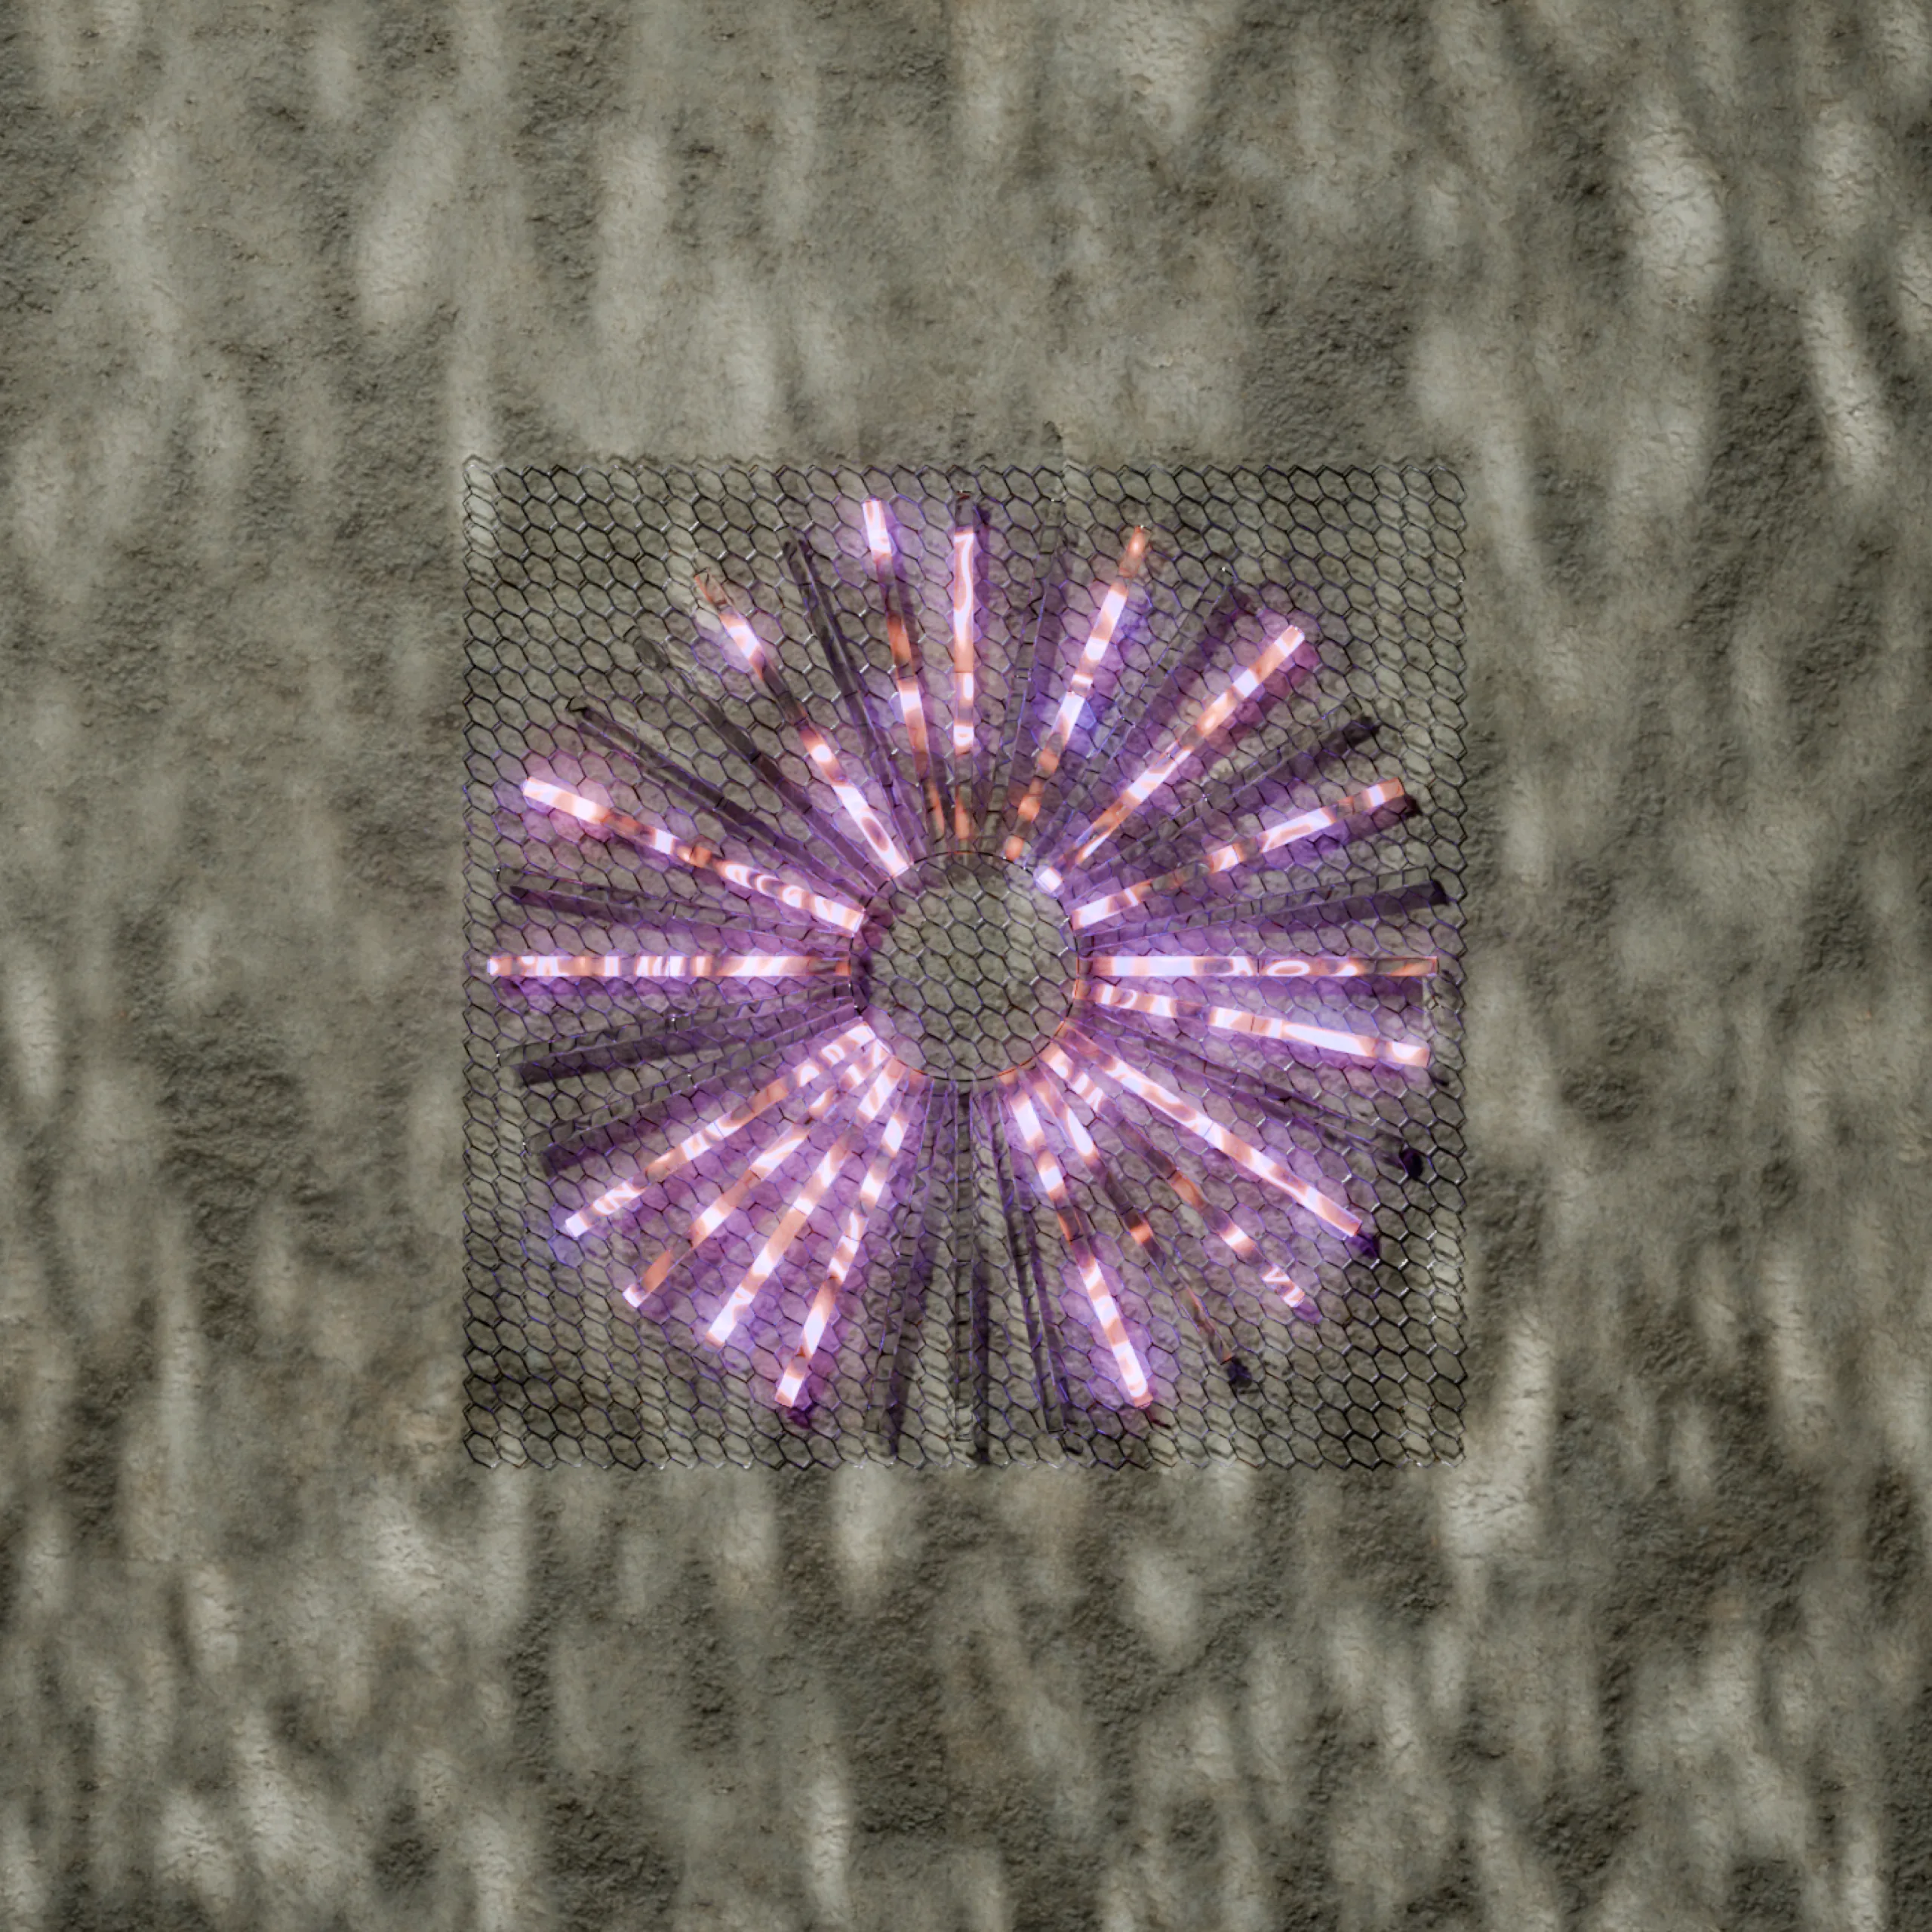
A glowing pink radial light sculpture mounted on a rough grey wall
Sculpture

Bubbles

A handmade glass-shader study created as a desktop wallpaper for a friend.

Date
May 2025
Client
Personal piece for a friend
Duration
A few days
My role
Modelling, glass shading, lighting and composition
Read the index Close the index

Concept

A friend asked me to make a desktop background, which gave the project a clear format and purpose. I chose a loose cluster of connected bubbles because it could remain calm and minimal while still changing across the wide image.

Process

The modelling stayed simple so the shading could carry the image. The difficult part was creating clear edges, transparency and slight rainbow dispersion without turning the forms into heavy glass marbles. I adjusted the material and lighting together until the bubbles remained visible on a pale background.

Result

The final image works as a background because the detail stays concentrated around the forms and leaves enough quiet space around them. The project mainly improved my understanding of transparent materials and how much their appearance depends on the environment.

Light sculpture

A Ducky3D tutorial reworked into my own darker, architectural style.

Date
June 2026
Client
Tutorial adaptation
Source
Ducky3D
My contribution
Visual reinterpretation, modelling, materials and lighting
Read the index Close the index

Concept

The project began with a Ducky3D tutorial, but I did not want the final frame to feel like a direct copy. I treated the radial form as a piece of light art installed on a rough architectural surface and pushed the contrast between the precise glow and the imperfect wall.

Process

I rebuilt the core technique, then changed the form, materials, surface treatment and framing. The scene combines a repeated radial object, internal lights and layered concrete textures. Most of the work went into keeping the pink light readable without flattening the wall around it.

Result

The finished image feels closer to an installation photograph than a motion-graphics exercise. It taught me how to take a tutorial technique and give it a different atmosphere instead of only changing colours.

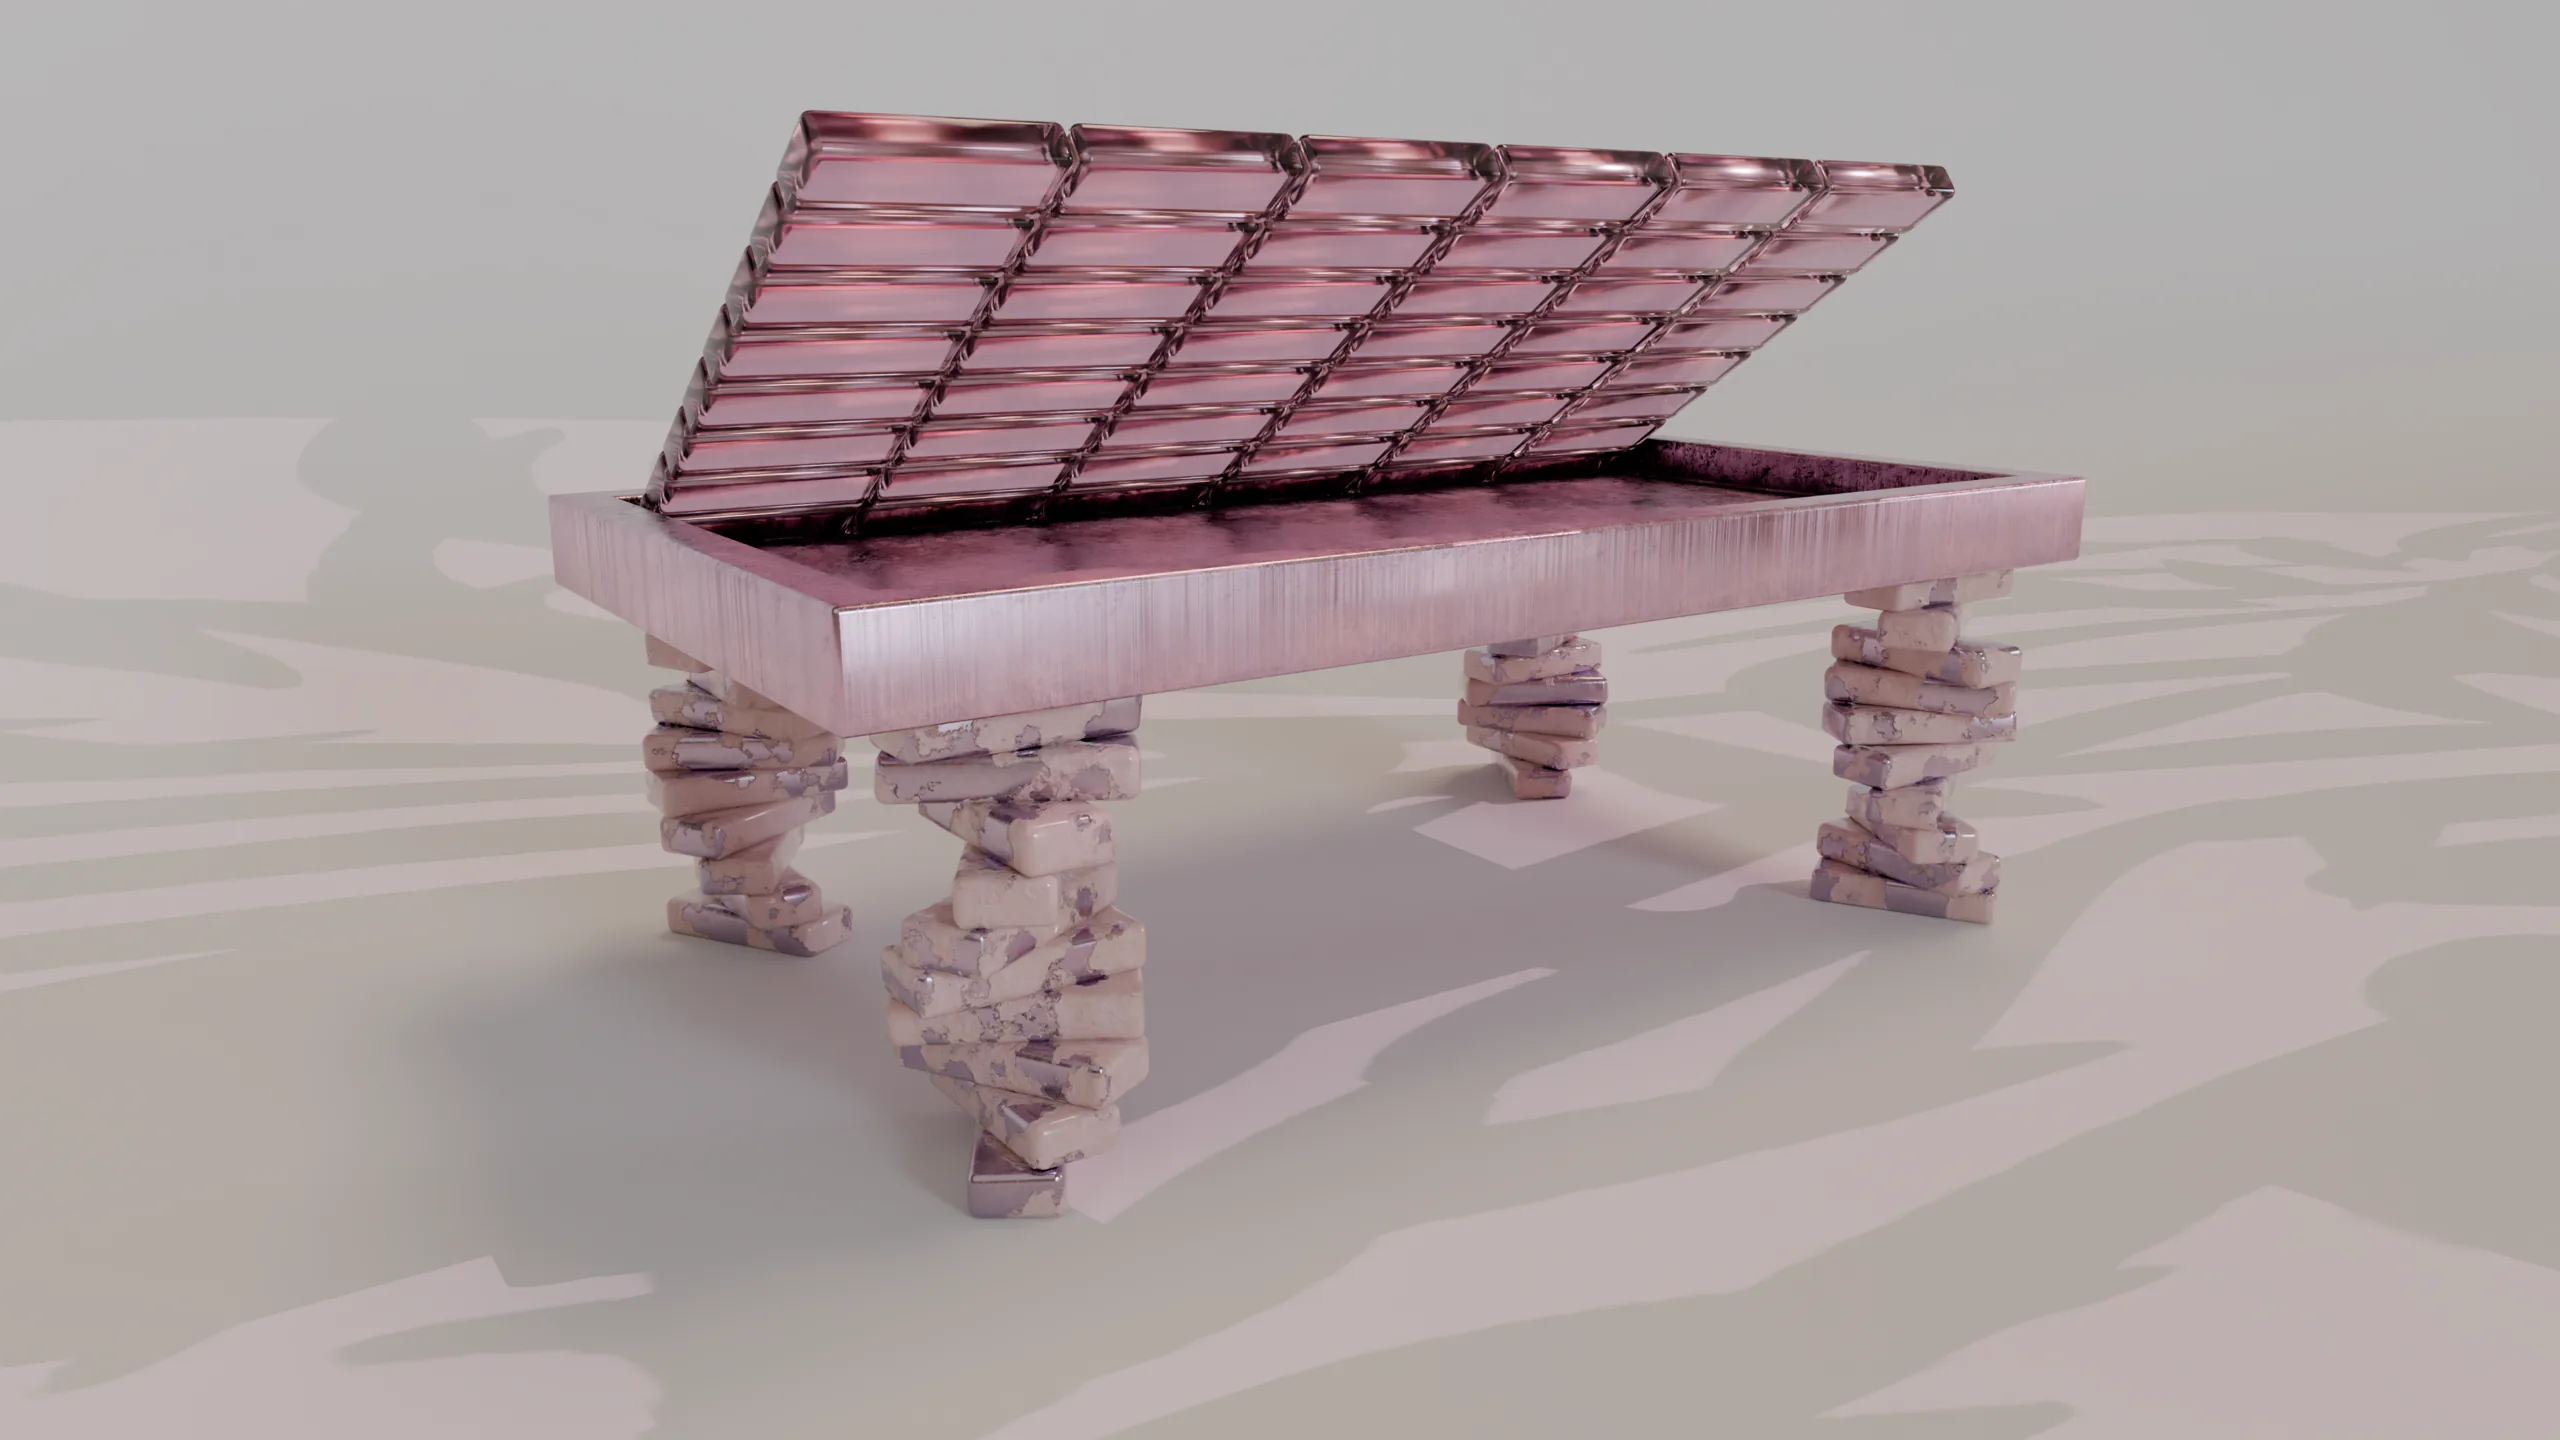
A pink metallic chest with a segmented lid resting on stacked stone legs
Rococo table

Rococo table

A self-designed digital object made for a visual-culture assignment about creating a contemporary Rococo artefact.

Date
May 2025
Client
School brief
Collaboration
Solo work
My role
Object design, modelling, materials and rendering
Read the index Close the index

Concept

For a visual-culture assignment, I had to create an artwork or artefact connected to Rococo. Instead of reproducing a historical object, I designed a piece of furniture that exaggerates decoration, softness and luxury through contemporary 3D materials.

Process

I modelled the entire object by hand. The segmented lid creates a jewellery-box or piano-like rhythm, while the twisted stacked legs make the table feel ornamental and slightly unstable. I used translucent pink surfaces against pale stone so the object could feel both precious and artificial.

Result

The result is not a historical Rococo reconstruction, but my own interpretation of its excess. The assignment showed me that 3D can be used for object and art direction, not only for realistic reconstruction or animation.

Simulations

Cloth

Cloth impact

A monochrome simulation study in which a cylindrical object pushes through and deforms a suspended sheet.

Date
September 2025
Client
Self-initiated
Duration
About one week
My role
Modelling, cloth simulation, lighting and animation
Read the index Close the index

Concept

I wanted to build an animation around one clear physical interaction rather than a large environment. A hard cylindrical object enters a cloth surface, and the entire image is defined by the tension spreading out from that contact point.

Process

The difficult part was matching the scale of the objects with the cloth settings. Small changes to size, stiffness or collision distance made the surface look either solid or weightless. I ran repeated simulations until the material stretched dramatically without breaking the basic shape.

Result

The monochrome lighting keeps attention on the deformation instead of the materials. The project gave me a better instinct for simulation scale and for designing an animation around the behaviour of one system.

Orbit
Noise

Motion studies

Two short looping experiments about procedural movement: a glowing path moving around columns and a noise-driven Geometry Nodes wallpaper.

Date
September 2025
Client
Self-initiated studies
Sources
Polyfjord and Ducky3D inspiration
My role
Reconstruction, Geometry Nodes, animation, lighting and composition
Read the index Close the index

Concept

Both pieces began from motion rather than a finished still. I was interested in simple loops that could keep changing without needing a story, character or camera cut. Their shared subject is how a procedural system can create rhythm from repeated forms.

Orbit

Orbit was based on a Polyfjord tutorial. I first watched the finished animation, then tried to rebuild it independently and only returned to the tutorial when I became stuck. This made the Geometry Nodes simulation and the movement around the columns much easier to understand than copying every step in sequence.

Noise

Noise is a simpler Geometry Nodes wallpaper, loosely inspired by Ducky3D. Instead of a readable path, it uses shifting procedural variation to keep a small surface alive. Together, the two loops taught me the difference between directed motion and ambient motion.

Spaces

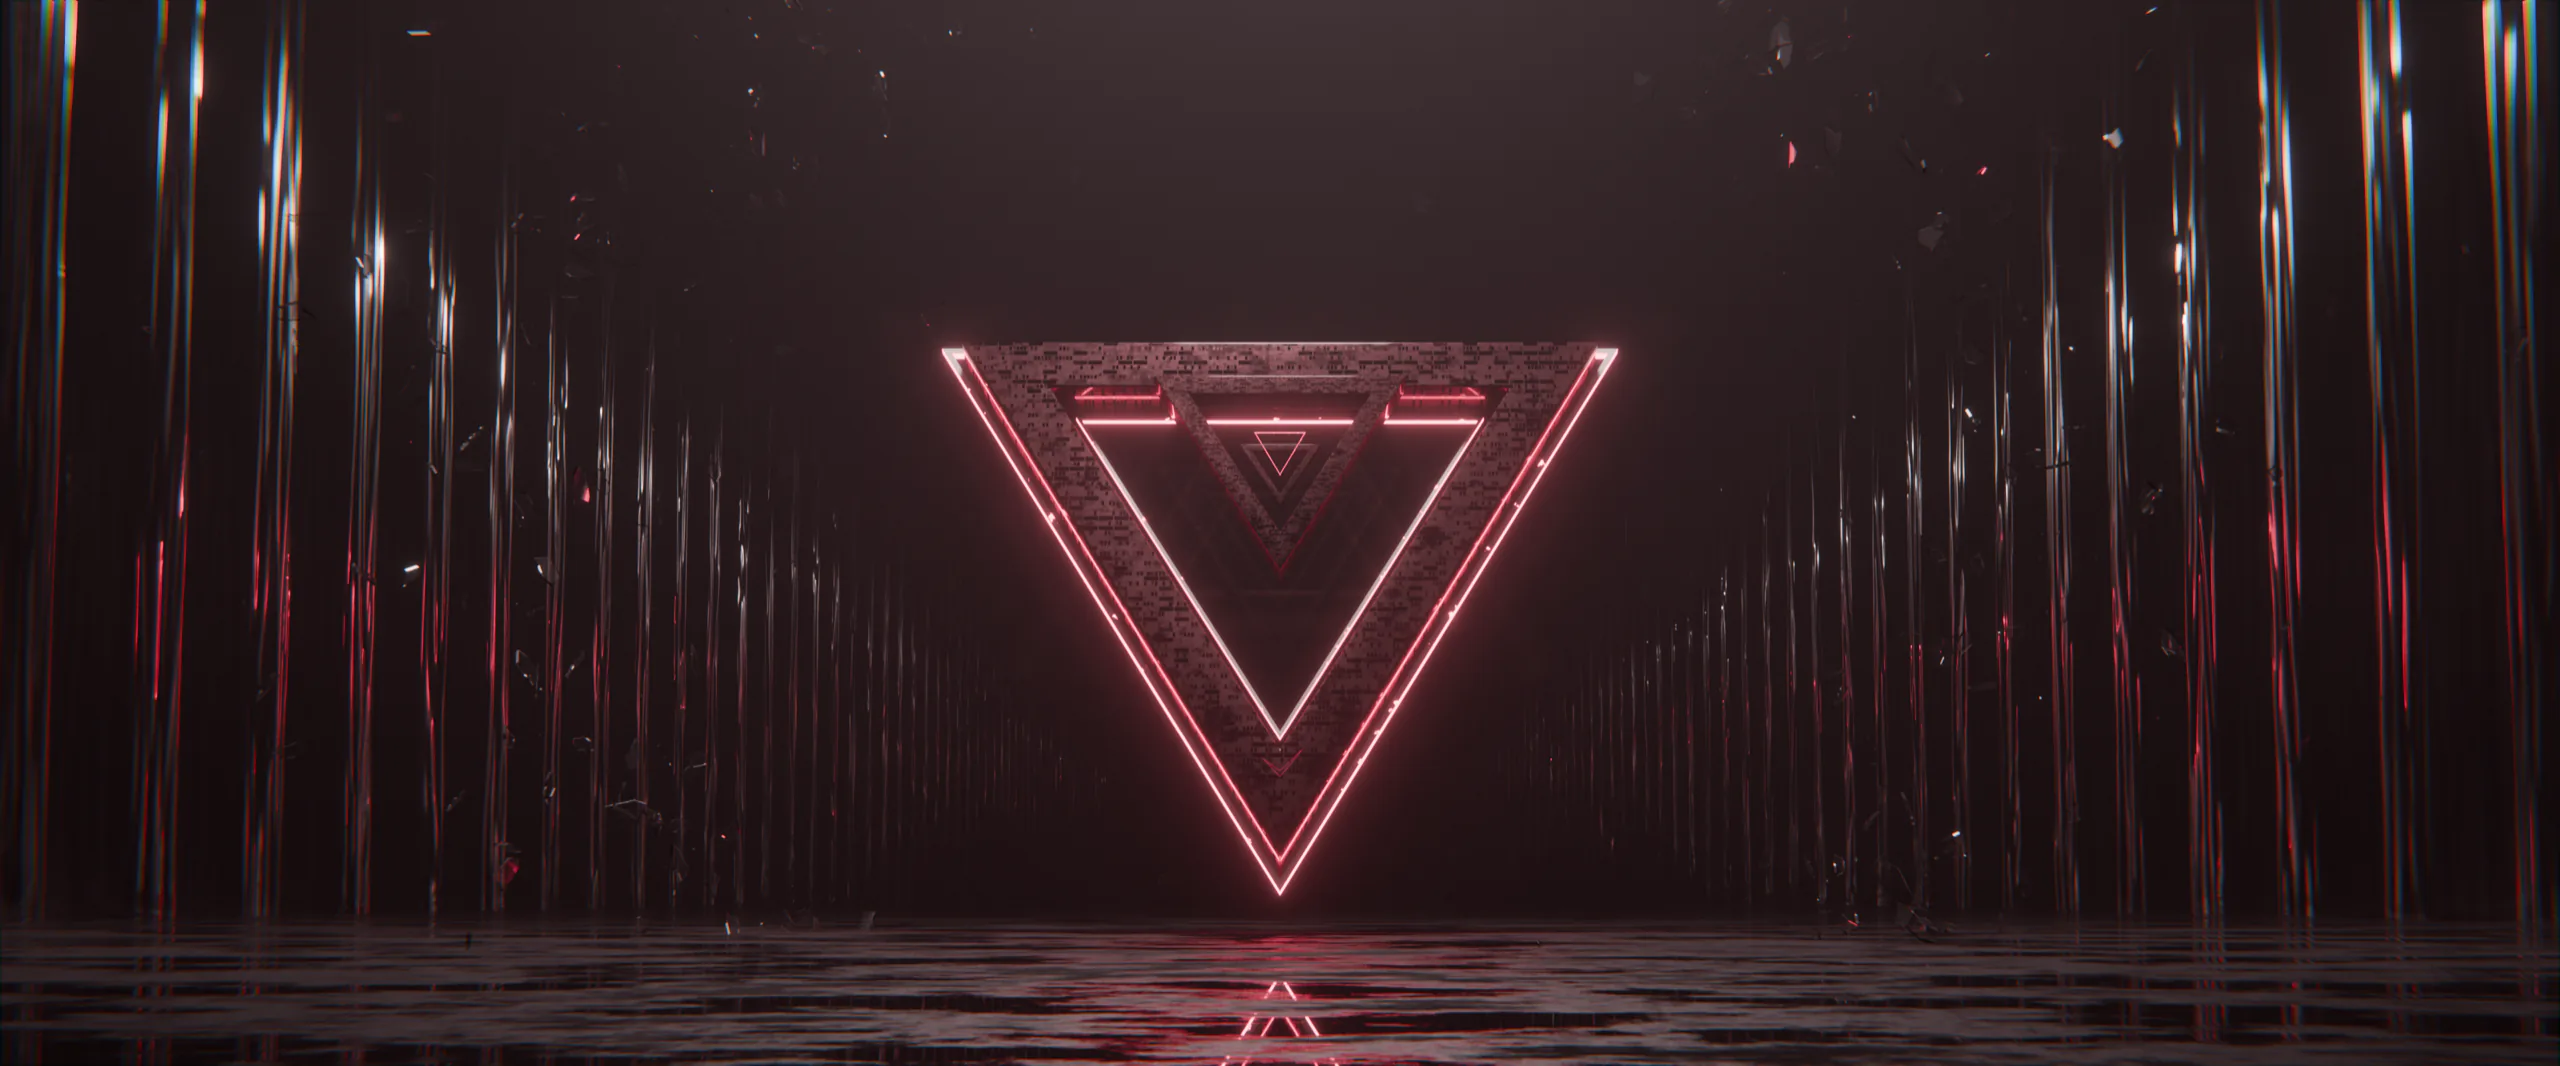
A glowing red neon inverted triangle floating in a dark reflective corridor
Gate

Gate

A large-scale environment study built only with Blender and my own modelling skills.

Date
August 2025
Client
Self-initiated
Duration
A few days
My role
Environment design, modelling, materials, lighting and composition
Read the index Close the index

Concept

This was a direct test of how well I could design a large environment without relying on another program or a prepared scene. There was no longer story behind it. The goal was to make one simple symbol feel monumental through architecture, repetition and scale.

Process

I modelled the corridor as a repeated sequence of dark vertical elements, then placed an inverted neon triangle at its centre. The reflective floor extends the geometry and gives the gate more weight, while the red light is the only strong colour in the frame.

Result

The final still proved that I could create a convincing sense of scale from a small number of elements. It also became a useful lesson in restraint: most of the atmosphere comes from spacing, darkness and reflection rather than modelling detail.

Backrooms

Backrooms

A layered first-person environment animation designed to feel like footage recorded while someone is running through an empty maze.

Date
September 2025
Client
Self-initiated
Collaboration
Solo work
My role
Environment design, modelling, animation, camera and lighting
Read the index Close the index

Concept

I wanted to recreate the uncomfortable familiarity of the Backrooms without treating it as a static hallway render. The scene needed to feel recorded by a person who was already moving, confused and possibly being followed.

Process

I modelled the environment and creature, built a 352-frame camera path and rendered the sequence in Eevee. The most important part was the camera shake. I adjusted its direction, rhythm and strength until it felt connected to running footsteps instead of looking like a generic handheld effect.

Result

Backrooms is one of the projects that best represents what I can do because its effect comes from many layers working together: modelling, lighting, camera movement, pacing and atmosphere. None of those parts is enough on its own, but together they make the short sequence believable.

ZORD

Bottle
Liftoff

ZORD concept ads

Two uncommissioned product animations for the real ZORD drink brand: one built around cold refreshment, the other around the product's launch.

Date
March to April 2025
Client
Uncommissioned concept for ZORD / Balázs Kicks
Collaboration
Critique from a Blender artist friend
My role
Concept, modelling, animation, simulation, lighting, camera and sound
Read the index Close the index

Concept

ZORD is a real drink brand connected to Balázs Kicks. I created the two pieces independently as concept advertising. The first uses a bottle breaking out of a clear ice cube to communicate cold refreshment. The second turns the word launch into a literal rocket launch because the product had just been released.

Process

I made every model and both scenes myself. The ice setup contains around 800 fractured cells, while the rocket scene combines the bottle, launch structure, animated cameras, lights, fire and fluid-based smoke. The rocket took several weeks because each layer had to work both technically and as a short vertical advertisement.

Result

I sent the animations to the brand, but did not receive a reply. The direct feedback came from friends instead. Even without becoming a real campaign, the two pieces are among the clearest examples of my ability to build a complete product world from concept to final animation.

Projects

Clamshell

A native macOS menu bar app that lets a MacBook keep working after the lid is closed while turning off the internal display.

Date
May 2026, ongoing
Client
Self-initiated, Clamshell Kft.
Collaboration
User testing and animation feedback with a friend
Partner
Setapp / MacPaw
My role
Product design, UI/UX, Swift development, 3D, animation, icon design, website and testing
Read the project Close the project

The problem

The idea came from a problem I had myself. I often wanted to carry my MacBook from one room to another while a download, build or AI agent kept running. I also kept seeing memes on Twitter about people walking around with their laptops barely open because closing the lid would stop everything.

macOS supports closed-lid operation, but normally expects an external display and connected peripherals. Other workarounds often involve Terminal commands, administrator access or additional setup. I wanted to make an app that did one thing, but did it simply and reliably.

Who is it for?

Clamshell is mainly for people who leave longer tasks running on their MacBooks. This includes developers working with AI agents, programmers waiting for builds or test suites, and people downloading large files, exporting videos or moving data.

The goal was not to build another large system utility. Clamshell had to stay out of the way and only appear when it was actually needed.

Research and design

The research started with my own use and the experience of a friend. I also compared existing products and explored several technical approaches, from privileged helper tools to lower-level macOS power-management options.

The main UX problem was not the design of the menu. It was trust. The app needed to clearly communicate that it had actually turned on and that the Mac would not go to sleep when the lid closed.

I designed a calm visual response around that moment. On supported MacBooks, holding Option while moving the lid directly controls the animation. It does not simply play a video. It follows the real angle of the display. Feedback from a friend was especially useful while developing this interaction and deciding when the movement felt clear and reassuring.

I created the entire visual identity myself. Every 3D model, animation and app icon was made by hand in Blender. AI was not involved in this part of the work because I wanted the creative and especially the visual decisions to remain completely my own.

Technical decisions

Clamshell was built as a native Swift and AppKit application. Since it was designed specifically for the Mac, accurate integration with macOS mattered more than using a cross-platform framework.

The app temporarily changes lid-close sleep through an unprivileged IOKit power-management operation. It does not require administrator access, install a kernel extension or ask the user to complete a complicated setup process.

Reliability required more than solving the ideal case. Clamshell responds when the charger is connected or removed, restores normal sleep after a crash or clean exit, and can switch itself off at a chosen low-battery level. Its thermal protection also favours normal sleep when the Mac reaches a serious temperature state.

I used AI as an implementation tool while coding. It helped surface possible approaches and carry out the implementation, but every product, visual and technical decision was mine. I did not accept important behaviour without evidence. Each critical part was checked through tests and real hardware.

Testing

Clamshell is covered by more than one hundred automated tests, dedicated release checks and physical MacBook testing.

  • Opening and closing the lid
  • Connecting and removing the charger
  • Low-battery and serious thermal behaviour
  • App crashes and relaunches
  • Purchase, licence activation and automatic updates
  • Separate verification of the direct and Setapp editions

A friend also used the app on his own MacBook. This revealed bugs that did not appear on my machine, including a menu bar issue on a new macOS version. It taught me that the difference between a working prototype and a product that can actually be shipped is mostly found in the rare and inconvenient situations around the main feature.

Result

Before running a real marketing campaign, I sold two copies of Clamshell. Both sales came from ordinary online comments, without paid advertising or a coordinated launch.

Clamshell is already available through direct distribution, and Setapp/MacPaw accepted the app as a distribution partner. We are preparing its official Setapp launch for August 5.

The project matters to me because I started it alongside finishing school, from a small personal frustration, and turned it into a working, paid and notarized Mac app with real users and an international distribution partner.

Visit clamshell.dev

What comes next?

After launch, I want to keep improving Clamshell based on real use and user feedback. The next near-term step is multilingual support.

In the longer term, I want Clamshell to keep the Mac awake only for as long as the assigned work actually needs it. Once the work is complete, the app could safely return control to the normal macOS sleep behaviour.